And as you can probably guess, I'm not really a car person. Might wash the car once or twice a year if it's lucky. So having to choose a car paint polish is new territory for me.


And as you can probably guess, I'm not really a car person. Might wash the car once or twice a year if it's lucky. So having to choose a car paint polish is new territory for me.

You might want to check out the Micro Mesh polishing pads first: https://www.thesandpaperman.com.au/m...arist-kit.html.Originally Posted by mjg

These things can be used wet or dry (if you're looking to polish, go wet, take a couple of passes at a time and clean/rinse every couple of passes). You will get a great result from them and you can then use a Meguiars ultimate or similar auto polish afterwards.
The Mesh numbers don't line up with your sand paper grades though. I think from memory a p2000 paper grade is about the same as the 4000 micromesh, but you might want to research that a bit. I think Simon Barden posted something on that a while back, but i haven't found it yet to refer to.
FrankenLab:
Turning tone wood into expensive sawdust since 2016!
Its actually on the Samdpaper Man's site : https://www.thesandpaperman.com.au/a...ion-chart.html
FrankenLab:
Turning tone wood into expensive sawdust since 2016!
That counts as a giant insect in Canberra? Dude, come to Queensland, we will freak you the hell out. Also, gemaltinsektenbedauern, LOL. Those Germans have a word for everything!
Guitar is coming along very nice. Love that logo. As for polish, I have used this
in the past with excellent results.
'As long as there's, you know, sex and drugs, I can do without the rock and roll.'
Lol, the insect looked pretty big as it flew into the spray path. Yeah I have inlaws in Brisbane, so I'm acquainted with the Qld wildlife.
Thanks FW, so the micro mesh polishing pads, do you use them instead of the polishing compound, or instead of the sand paper? I'll do some reading up on it. The sandpaper I have is from StewMac, 1500 and 2000 grit, so I assumed it's guitar finish friendly.
Thanks Pablopepper, I'll look at that compound as well.

Love that knob man!
Nr 1: Red Widow LP-1MQ (Finished) ->Diary<-
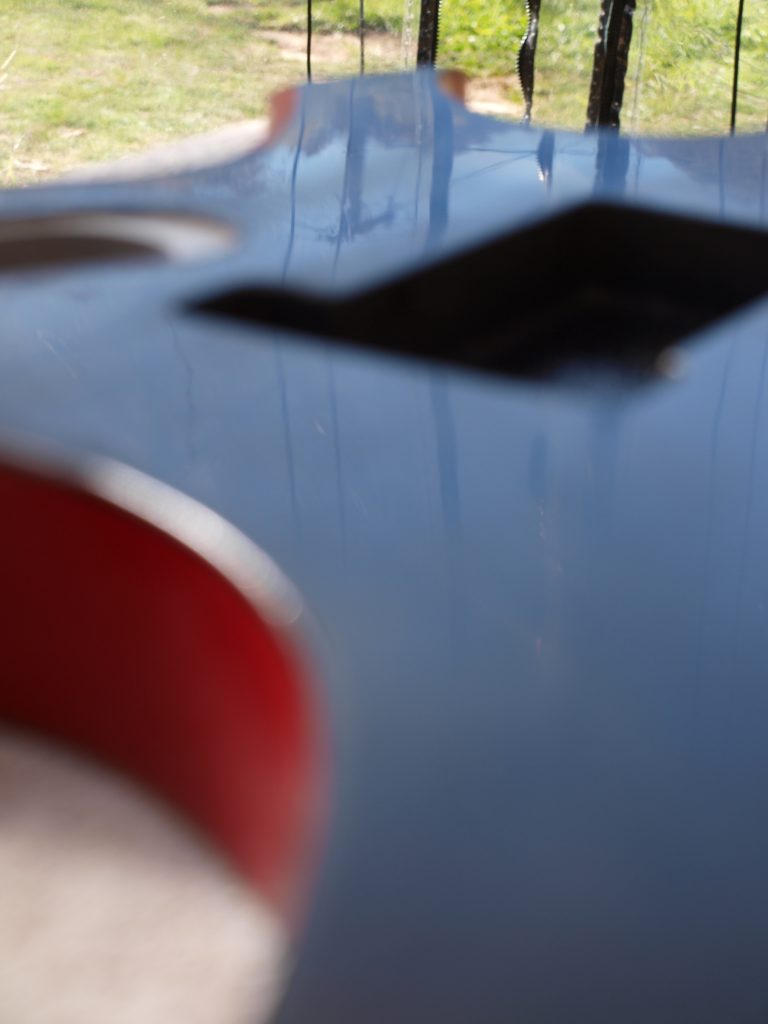
We've waited a few weeks for the clear coat to dry, and today I've done some sanding on the body at 1200 grit. Could have started at 800 maybe, but I was a bit paranoid about taking too much off in one go. It's coming up nicely. So far I've done the back and front, and I'll leave the sides for another day. Still need to remove a few tiny patches of orange peel on the back and front as well.
The kid has also decided he likes the knobs with the red spray on top, so I've been spraying them yesterday and today. Making sure anything sprayed comes inside at night, as it's been -8 for the last few nights here. OK, so Canberra is cold, but that's a bit ridiculous.
Here's my highly sophisticated spray booth:

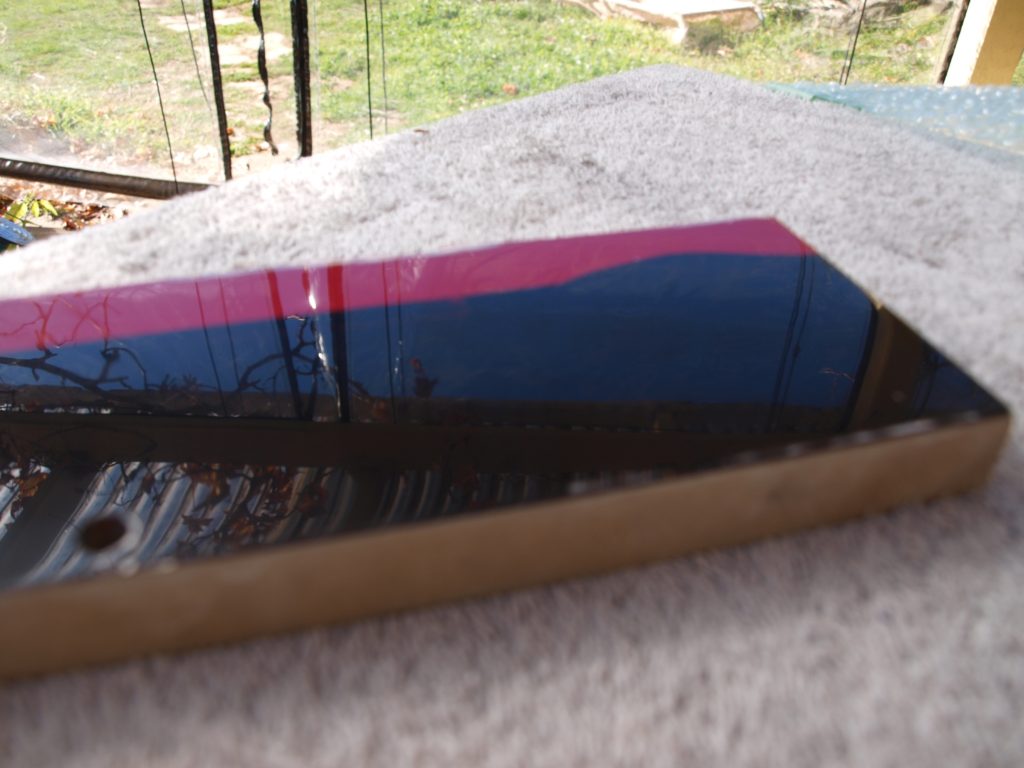
I've received my micro-mesh kit from the Sandpaper man. I have done a 1200, 1500, 2000 grit paper, then 4000, 6000, 8000, 12000 micro mesh on my scrap piece of wood. It is seriously shiny.
Comparison of the clear coat guitar before sanding, with the scrap bit after micro mesh. Bonus points if you can work out the brand on the hat I'm wearing.
Have to say, I struggled to work out which micro mesh was which. The 'teal' and 'royal blue' both looked like teal to me. They are obviously different colours, but comparing them to the sheet with the colours on it, I could match it either way, depending on the lighting conditions. In the end I found a photo online (Stew Mac website I think), which had the pads laid out in order, and that finally sorted it for me.
And it wouldn't be a week of guitar building without something going wrong...
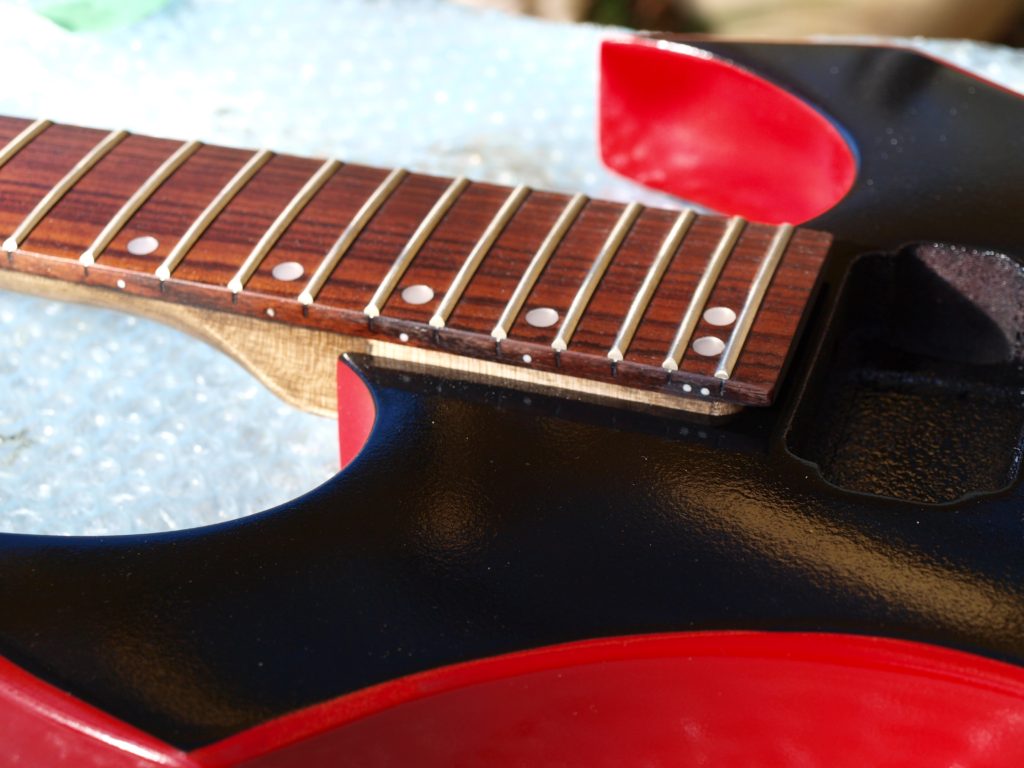
We have stained the neck, and I'd masked off the end so as to not make the neck any tighter in the neck pocket.
Did a test fitting, and it fits really nicely... except for the fact that I didn't realise it would be sitting up off the body...and I'd masked that bit off. It's obvious that it should, so pick guards can go under, etc. But I totally forgot about that when doing the masking. We now have to do some more staining to try to match the colour of the strip of bare wood around the neck pocket. D'oh!


Looking very, very good.
Easy trap to fall into with tide mark where neck meets the body and on my one and only set neck drew pencil lines all around where the bits needed to remain bare for titebond to do its job. Minor setback and hopefully won't take long to fix.
# 1 - EX-5 https://goo.gl/fQJMqh
# 2 - EX-1 https://goo.gl/KSY9W9
# 3 - Non PBG Tele https://goo.gl/W14G5g
# 4 - Non PBG J Bass https://goo.gl/FbBaFy
# 5 - TL-1AR GOTM Aug 2017 https://goo.gl/sUh14s
# 6 - MMB-4 Runner-up GOTM Oct 2018https://goo.gl/gvrPkp
# 7 - ES-1 Runner-up GOTM Aug 2018https://goo.gl/T9BEY8
 Posting Permissions

 Reply With Quote
 It definitely made things shinier than the 2000 grit, but still has a fine scratch pattern on the finish. It also has a pleasant lemon scent now. lol.