Page 12 of 19 FirstFirst ... 2 10 11 12 13 14 ... LastLast
Results 111 to 120 of 182

Thread: Matt's WL-1 build

  1. #111
    Member
    Join Date
    Jan 2017
    Location
    Canberra
    Posts
    177
    Saturday we had a day over 15 degrees (hooray), so brought out the clear spray. Sat it in warm water for 20 minutes before spraying, shook well for 5 minutes, and went at it. The kid did a lot of the spraying, and he has done a good job. Only one pass where something went a bit wrong with his gloves I think, or he was holding the nozzle weird, because it was spluttering quite a bit.

    The red pen to disguise holes in the red paint turned out to be a really bad idea. Don't use 'Pilot Fineliner' brand red pen with clear coat. A marker pen would possibly have worked, but not the felt tip one.

    Once the clear coat hit the pen, the ink reacted, mixed into the clear coat, spread in the direction of the spray, and changed from red to bright bright yellow. Holy crap! Panicked, tried to rub it off, then waited half an hour and sanded it off where it had spread.

    When sanding off the red (now yellow) ink, I managed to pull off an even bigger bit of red paint, showing more primer than the small chip I'd been trying to hide. Crrraaaapppppppp. It's also made the clear coat a bit dirty where I sanded.

    In the end we got three coats done with 30 minutes drying between, before the weather turned again, and it was too cold to spray.

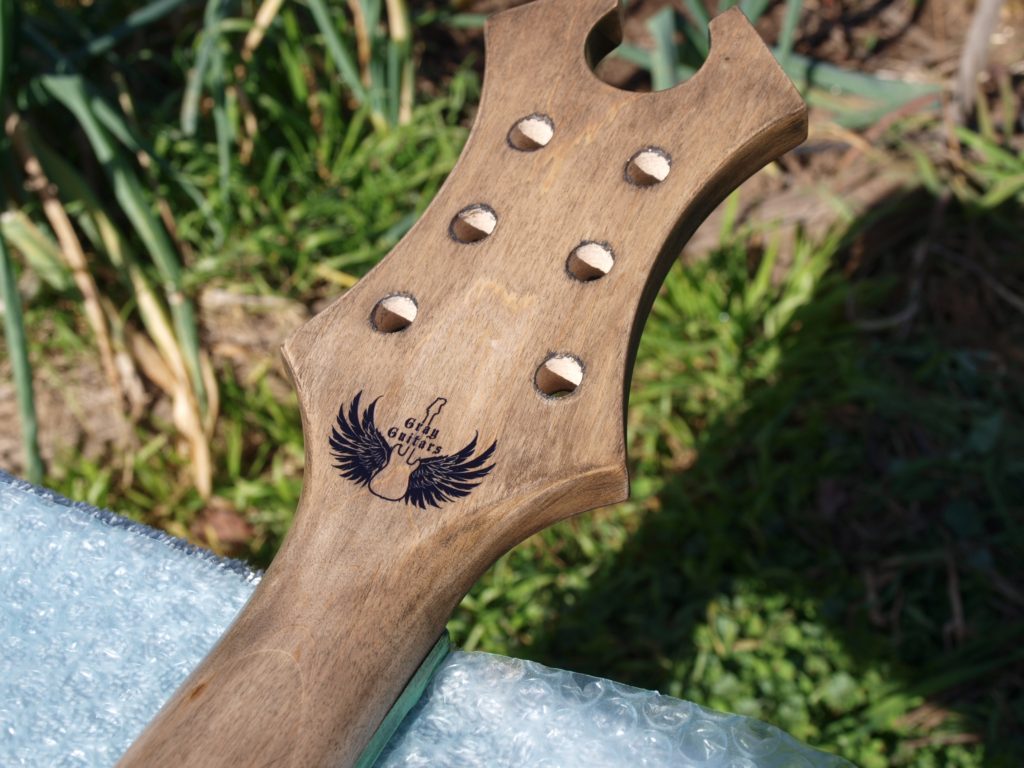
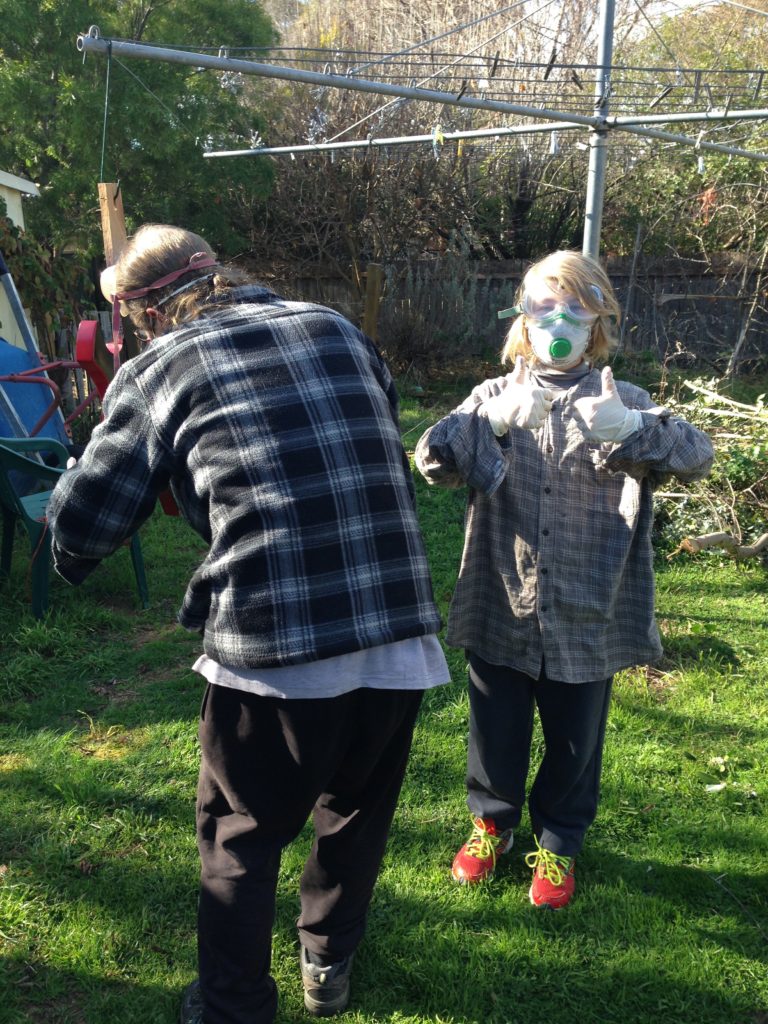
    Here's Dodgy Spraying and Son - for a two thumbs up job, give us a call:


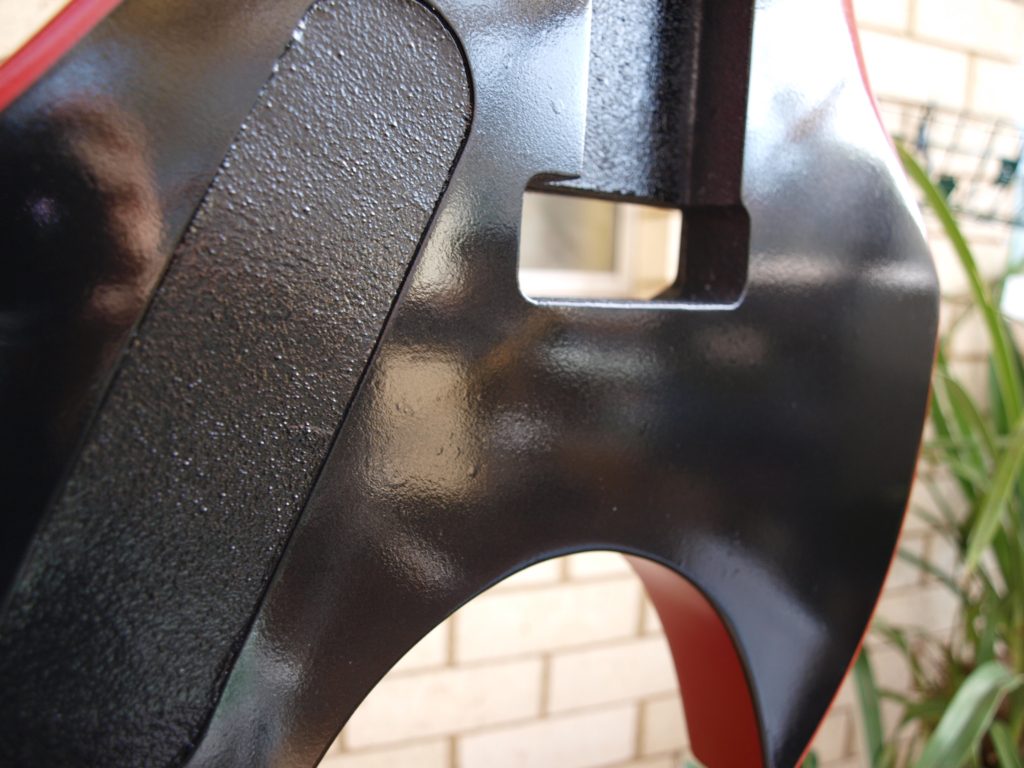
    Here's the stuff up... after sanding off the yellow and then revealing more primer...arrrggghhhh


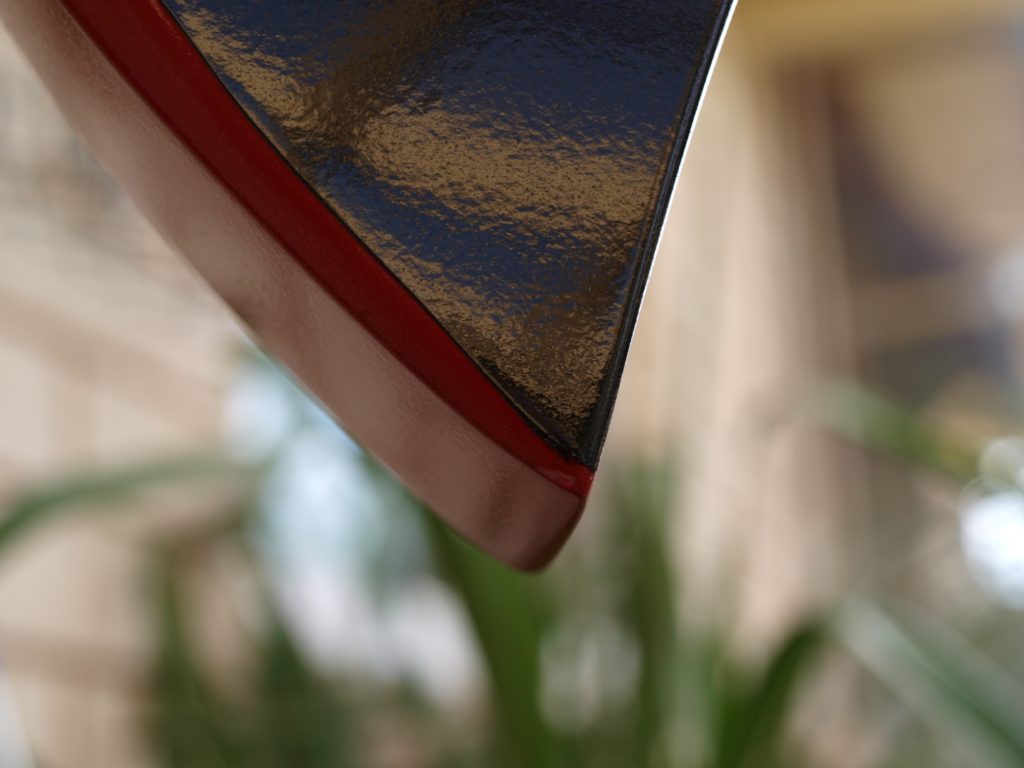
    Here's that bottom edge again. The red ink went yellow and spread. But funnily enough, once I sanded it off, sprayed more clear, and the clear dried, some of the red ink seems to have remained.


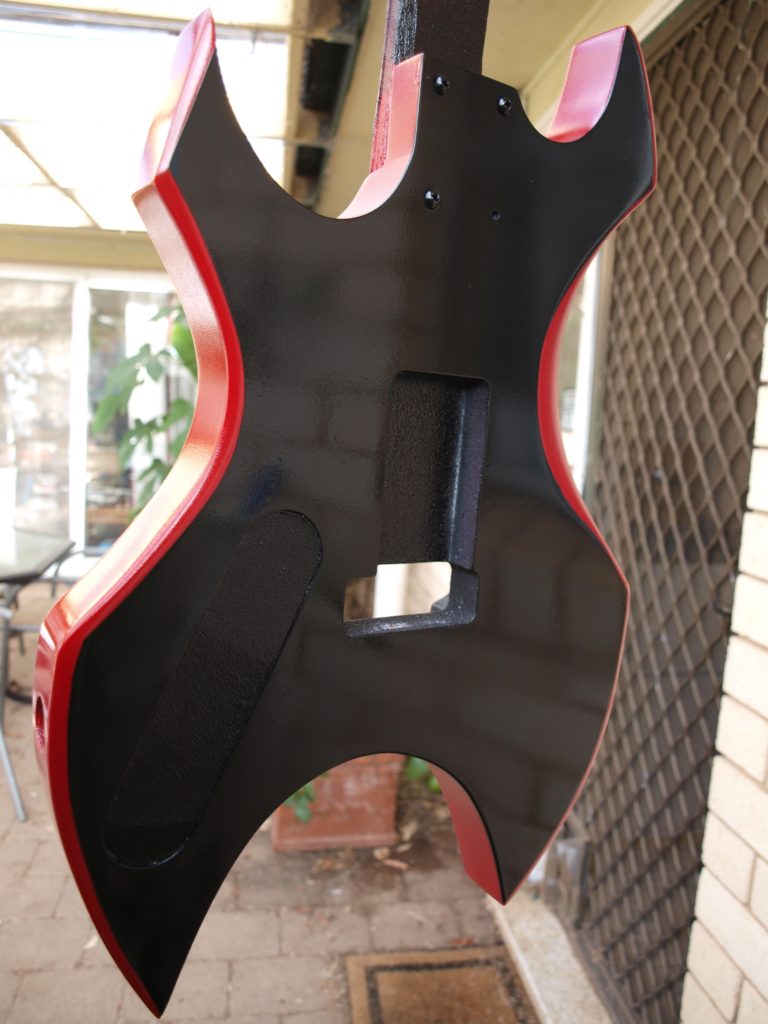
    Here's the splatter that happened on the back, just on one pass.


  2. #112
    Member
    Join Date
    Jan 2017
    Location
    Canberra
    Posts
    177
    So anyway, my plan for next weekend is a two pronged attack...

    1) Buy some more red spray, and use that with a small brush to fix up the areas where the primer is now showing. I'm thinking that I'll sand them back carefully, put the red on, let that dry, sand to level it a bit, then it should be ready to continue with clear coat spraying?

    Is it worth brushing on some clear, or doing localised spraying of clear, to try to get things level before continuing across the whole guitar?

    2) Light sanding on the back, to level off where the clear has splattered? Or should I just leave that alone?

    I'm planning on doing probably 3 more good coats of clear. I've got enough paint to do possibly 4 or 5 more heavy coats of clear, if needed.

  3. #113
    Member
    Join Date
    Jan 2017
    Location
    Canberra
    Posts
    177
    And despite the stuff ups here and there, it's still looking OK. The kid thinks it looks awesome, and that's the main thing really. I just need to forget about my perfectionism, because it's probably going to get scratched and chipped once he starts using it anyway!


  4. #114
    Overlord of Music Dedman's Avatar
    Join Date
    Mar 2016
    Location
    The "Fabulous" Gold Coast
    Posts
    3,566
    yup, a light sand to get everything a bit flatter before more clear 800 or 1000 grit. careful on the edges, its surprising how bitey 800 or 1000 can be on fresh paint
    Build 19 PSH-1 Kustom
    Build 18 HB-4S Kustom
    Build 17 WL-1 Kustom
    Build 16 TL-1TB Kustom
    Build 15 PBG-2-
    Build 14 FTD-1
    Build 13 RD-1 Kustom
    Build 12 DM-1S
    Build 11 MKA-2 -
    Build 10 Basic strat
    Build 9 JM Kustom
    Build 8 FV-1G
    Build 7 ES-2V
    Build 6- Community prototype
    Build 5 LP-1LQ
    Build 4 ES-5V
    Build 3 JR-1
    Build 2 GD-1
    Build 1 TLA-1

  5. #115
    GAStronomist FrankenWashie's Avatar
    Join Date
    Jan 2016
    Location
    Glebe, NSW
    Posts
    5,666
    That's hot, I'm not a fan of the guitar style but what you created actually makes it really appealing. Great job Both of you!
    FrankenLab
    Hand crafting guitars, because Death Rays are expensive.


  6. #116
    GAStronomist Simon Barden's Avatar
    Join Date
    Oct 2016
    Location
    Reading, UK
    Posts
    10,547
    I know how easy it is to chip finishes. Also know how marker pen doesn't do well once it's covered with lacquer. Great for simple touch-up jobs on finished guitars (or even tolex tears on amps) but the ink really separates with some solvent on it.

  7. #117
    Member
    Join Date
    Jan 2017
    Location
    Canberra
    Posts
    177
    Good to know!

    I got another spray can of red today, sprayed some onto paper and then brushed it on to the chipped areas. Looks like that will do the trick, I'll see how it comes up when dried and sanded a bit.

    I also tried a bit of an experiment with a spare black metal knob - sprayed the top red. Not convinced it will look any good, but I'm keeping an open mind about it. I'll see how it looks on the finished guitar... some time in the distant future.

  8. #118
    Member
    Join Date
    Jan 2017
    Location
    Canberra
    Posts
    177
    This week's progress...

    Working on the neck. Sanded down to 240, put on some ebony Timbermate for grain filling, sanded down to 320, then started on an ebony stain finish.

    The kid designed a logo for the guitar. Personally I think it looks a little bit 'lower back bogan tattoo', and I think I'll be calling the guitar 'Shazza' in my head from now on. But it does seem to work for the guitar style. Printed it on inkjet decal paper, sprayed with acrylic, then slid it on after the first coat of stain. It seems to be staying in place after two more coats of stain, so looks to be working.

    I'm thinking I'll do one more coat of the stain, to darken it a bit more, then a wax/oil finish over that.

    This is after Timbermate and sanding:


    After two or three coats of stain:


    Fixing the paint chips with a brush has worked, so I've sanded that down a bit, then spent yesterday afternoon shooting more clear. I got three more good coats done, and it has come up looking pretty good.


  9. #119
    Member
    Join Date
    Jan 2017
    Location
    Canberra
    Posts
    177
    On the final coat of clear, a giant insect flew straight between the spray can and the guitar. It's now immortalised right on the front. I'm sure there's a cool German word that describes the exact feeling I had when that happened. Gemaltinsektenbedauern?


    I've also sprayed the top of a spare knob with the red, to see how that looks. I don't know...


  10. #120
    Member
    Join Date
    Jan 2017
    Location
    Canberra
    Posts
    177
    Another thing I've done this week is sand down my scrap piece that I've sprayed with colour and clear. I sanded with 1200, 1500 and 2000. Still looks pretty scratchy, and not at all a mirror finish.

    Anyone have a recommendation for what polishing compound to use after sanding with 2000 grit?

    I had a look at the range at Super Cheap Auto, and was a bit overwhelmed with the options. Liquid, paste, gel, lotion, spray, which seemed to do a variety of buffing, polishing, unscratching, grinding, finishing, starting, etc. I've heard the Maguires brand mentioned before, but their products seem to be 3 times the price of the others, and they also come in a variety of sizes and shapes. Would I want the Maguires Black, Maguires Gold, Maguires Gold plus Extra Unicorn Sprinkles?

    In the spirit of scientific enquiry, I tried some Clorox Gumption on the scrap piece. Hey, it was sitting in the laundry cupboard, might as well give it a try? It definitely made things shinier than the 2000 grit, but still has a fine scratch pattern on the finish. It also has a pleasant lemon scent now. lol.

Page 12 of 19 FirstFirst ... 2 10 11 12 13 14 ... LastLast

Posting Permissions

  • You may not post new threads
  • You may not post replies
  • You may not post attachments
  • You may not edit your posts
  •