
That is looking like a weapon already, great job. That black and red combo is going to look sick with a clear coat over the top.


That is looking like a weapon already, great job. That black and red combo is going to look sick with a clear coat over the top.
FrankenLab:
Turning tone wood into expensive sawdust since 2016!

Holey smoke, the black and red sets that kit off!!
Build #1 - ST-1 - Completed
Build #2 - LP-1SS - Completed
Build #3 - TLA-1R - Completed
Build #4 - SGD-612 - Completed
Build #5 - ES-1G - Completed
Build #6 - STA-1HT | Completed
Build #7 - ST1JR - Completed
Current Build #8 - JBA-4
Build #9 - Semi-scratch build Tele x 2 - Completed
Current Build #10 - PRS-1H
Current Build #11 - AGJR-1 - Completed
Current Build #12 - ATL-1SB
Current Build #13 - GST-1
Current Build #14 - FBM-1

Very nice. Coming along well mate

You may find that scraping with a small sharp blade first is a more precise way of getting the excess black paint off. Then some very light overall sanding before the clear coats.

Really devilishGo with the LED's!!
Nr 1: Red Widow LP-1MQ (Finished) ->Diary<-
Thanks all.
I'll have to buy a razor blade Simon, have used an electric shaver for years. I do have a lot of woodworking chisels but I suspect they are a bit too unwieldy for the job at hand. I'd probably remove half the guitar before I stopped.
Anyone have a favourite place for buying custom guitar knobs? I've found some on Qparts that look perfect for the build, but they're going to be $16 US for the 2 knobs, and $35 US shipping. Can't justify spending more on the knobs than I did for the pickups!
e.g. these ones I like in the black (Which aren't in stock at the moment anyway...) : https://www.qparts.com/index.php/kno...dome-knob.html
Electric razors are the best. Changed in 1996 to Braun and never looked back. Now back to the guitar. Buy yourself a set of replacement Stanley knife blades. They should do the trick and you can also use them for fret rockers!
Build #1 - ST-1 - Completed
Build #2 - LP-1SS - Completed
Build #3 - TLA-1R - Completed
Build #4 - SGD-612 - Completed
Build #5 - ES-1G - Completed
Build #6 - STA-1HT | Completed
Build #7 - ST1JR - Completed
Current Build #8 - JBA-4
Build #9 - Semi-scratch build Tele x 2 - Completed
Current Build #10 - PRS-1H
Current Build #11 - AGJR-1 - Completed
Current Build #12 - ATL-1SB
Current Build #13 - GST-1
Current Build #14 - FBM-1

Perhaps try Allparts, the shipping costs may be slightly better.
Warning: parts shopping may be hazardous to your wallet.
Scott.

well thats coming along quite nice there fella shame about the masking tape but easy fix if you want a cheat just polish it as normal and use a black marker pen on the black, coming up real nice for your 1st efffort
My facebook
126 guitars done so far still going, 34 Starts, 25 Teles, 27 Les Pauls, 11 SGs, 8 Hollow Body, 21 Super Strats
A few weeks on, and things are progressing. There have been a few minor stuff ups, but overall it's getting there.
I carefully sanded and also used a razor to scrape off some of the black overspray and leakage. That went OK for the most part, but I managed to chip or sand off a few bits of red and expose the primer. Just tiny little chips. Only wafer thin, as the saying goes.
Decided to try a red pen to disguise that. I found a red felt tip pen that was pretty much a perfect match for the red paint, and drew a bit on - looked good.
I also had some black spray left over, so I sprayed that onto some plastic, then dipped a small paint brush in - was able to use that to carefully hand paint a few bits on the curves where the tape wasn't quite right. That turned out well.
Sanded the back and front colour down a bit with 1200 wet paper. Just to level everything off a bit before the clear coats.
Sanded:
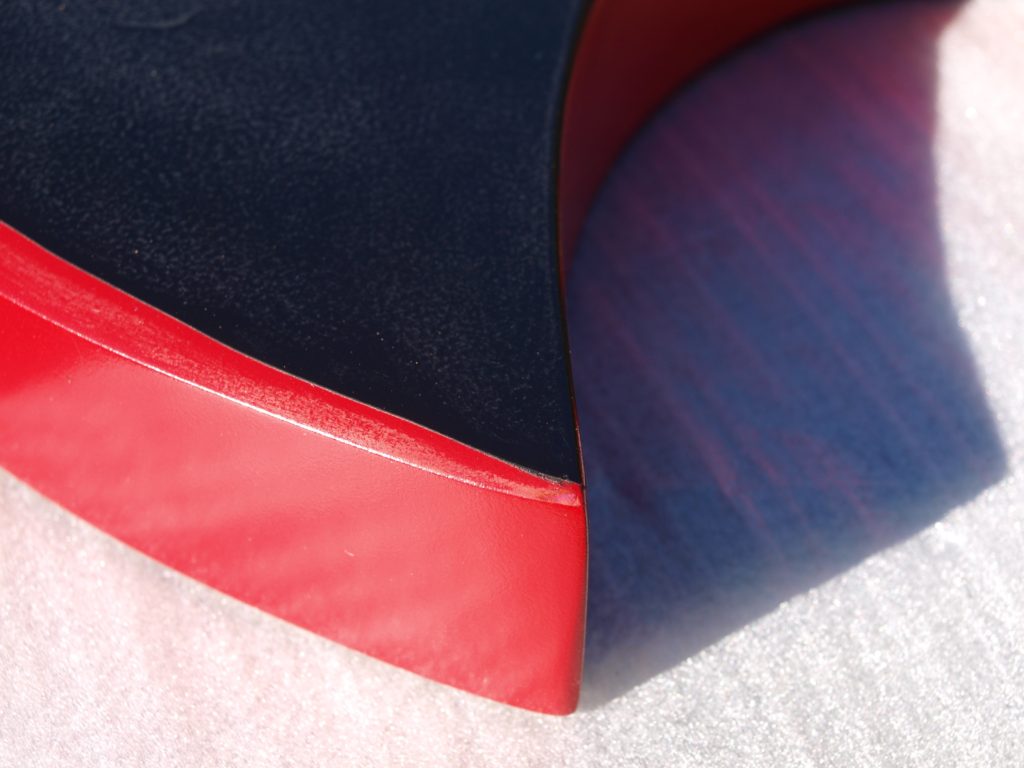
Red pen on the edge of the red here - pretty good match. But read on to see why this was a crap idea.
 Posting Permissions

 Reply With Quote