Way to go! Nice router table indeed!


Way to go! Nice router table indeed!
Nr 1: Red Widow LP-1MQ (Finished) ->Diary<-
Yep, it's the Ryobi 1600w router with the half and quarter inch collets. Nice machine, but a bit hard to control as a plunge router when working on small items. Hoping the table will make that easier to manage.Originally Posted by stan


I have a similar Spec AEG unit, great for the hard work but i revert to a palm router for fiddly stuff. the table should make this easier. A similar table is one of the projects that future FrankenWashie needs to tackle. But i have guitars to finish before then.
FrankenLab:
Turning tone wood into expensive sawdust since 2016!
The kid and I had more fun with spray cans yesterday. We got three coats of black done, before I got called away to dress up in a giant orangutan suit and dance in front of a market stall for the rest of the afternoon. Don't ask.
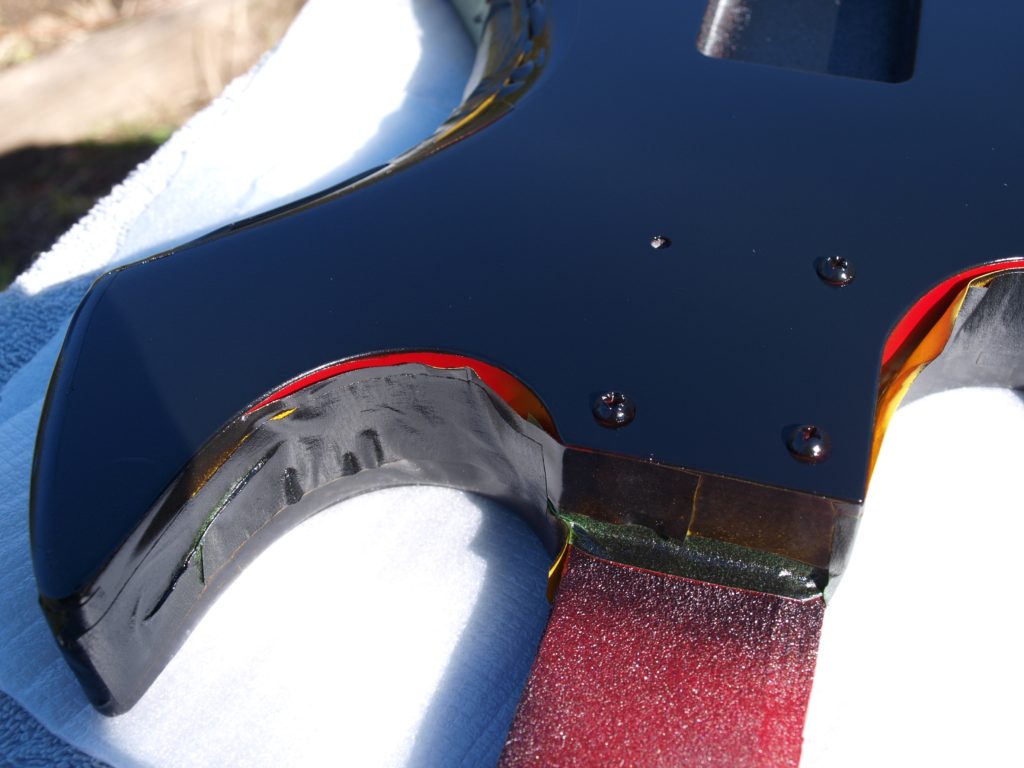
I used a mix of vinyl tape and painters tape for the edging - the vinyl stuff so that I could follow the curves easier. Turned out to be a bad idea for the tighter concave bits, where I didn't fold it over the edge. I must have been stretching the tape too much as I put it on, because after a few coats it started to pop back off the surface. By the next day I had self removing tape. Nice.
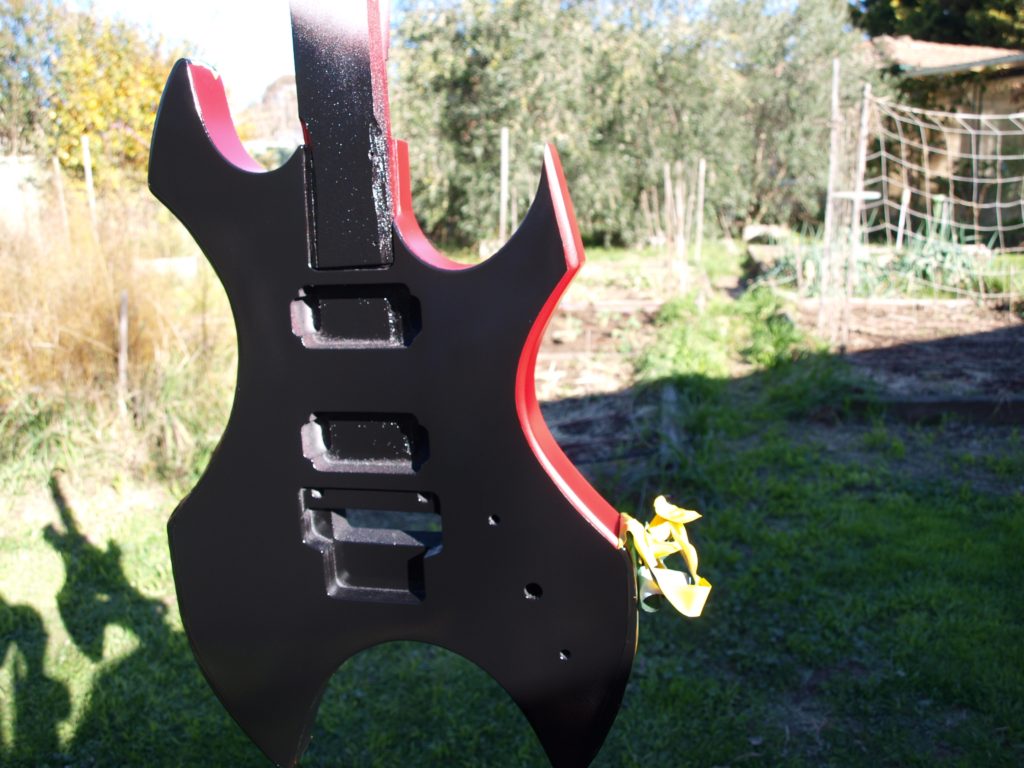
Today I've fixed up a few runs by sanding them back, and done two more coats of black. Left it for an hour, then removed all the tape. Have to say, I was pretty nervous that either the black or the red would peel off with the tape. But it all worked.
There are a few wonky edges, and a few joins where the black got in, and also one part where the tape must have popped up and we didn't notice. But all in all I'm pretty happy with how this has come out, given that it's my first spray painting adventure.
Plan is to leave the black to dry for the rest of the week, then use a light sand to try to remove a few of the stuff ups. I've got no red paint left, so trying to avoid buying a whole new tin for touch ups, but might do that if required.
Some photos:
The kid doing a spray run
SO shiny!
Self removing tape...
The big reveal...
Pretty happy with this:

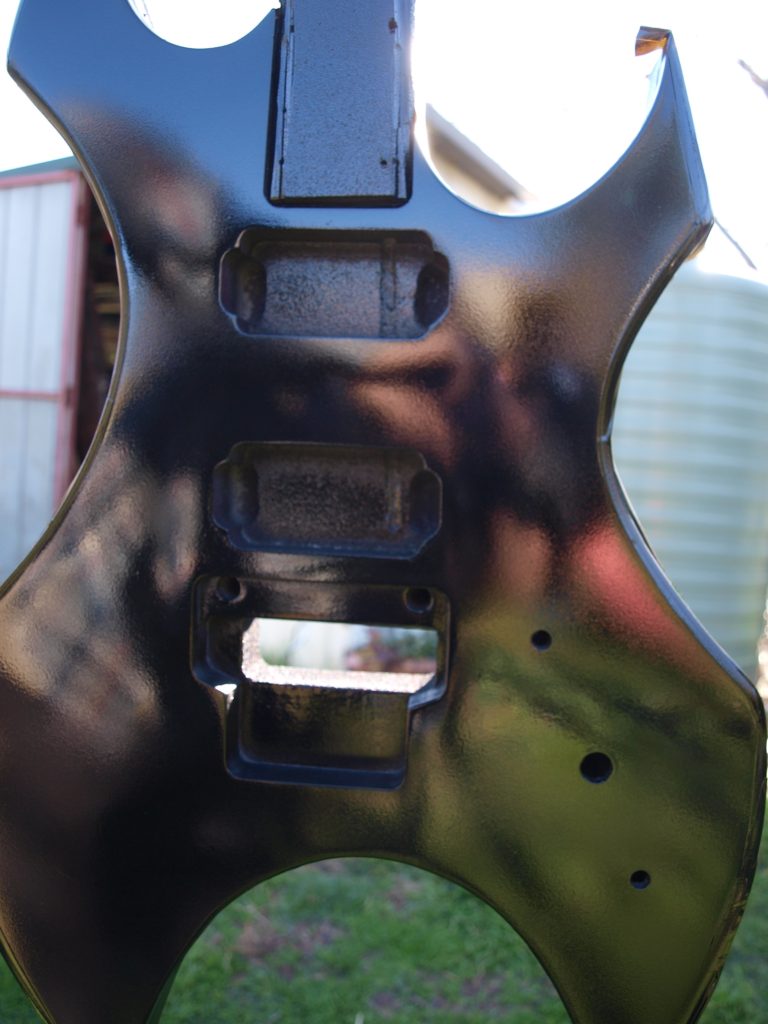
So, I've got a few bits like this to fix, is sanding the best approach?
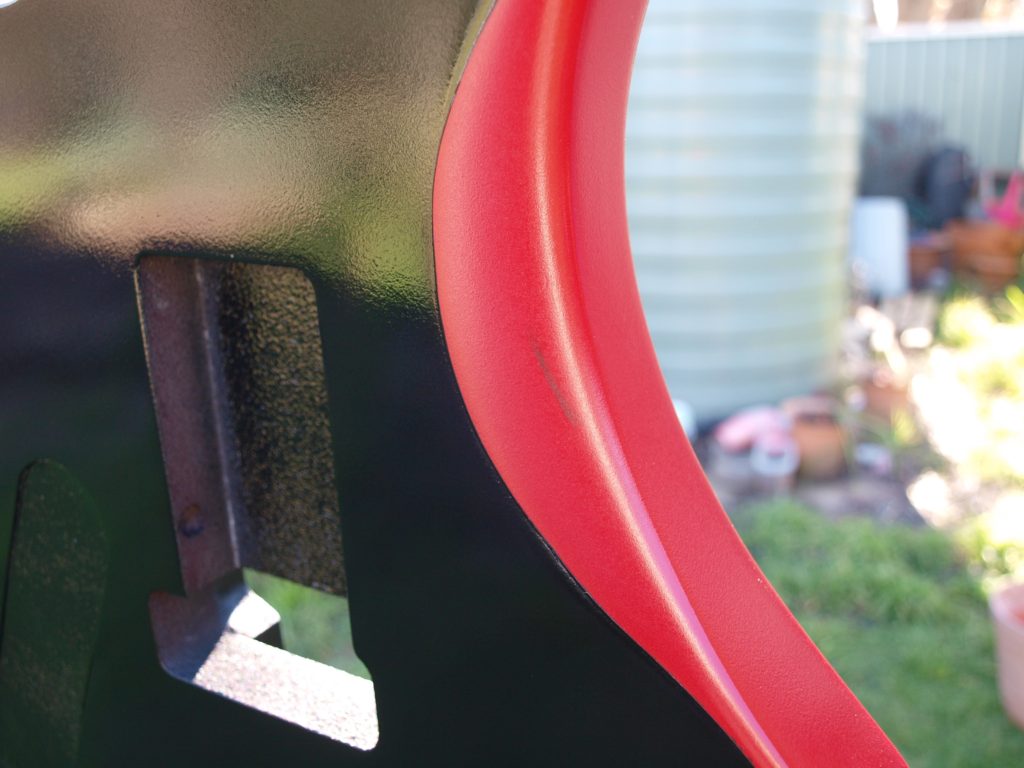
and this sort of thing...


looks great MJG, your boy has done a great job at the painting.
Yes I would lightly sand the areas that need fixing
Current Builds and status
scratch end grain pine tele - first clear coat on !
JBA-4 - assembled - final tweaks
Telemonster double scale tele - finish tobacco burst on body and sand neck
Completed builds
scratch oak.rose gum Jazzmaster - assembled needs setup
MK-2 Mosrite - assembled - play in
Ash tele with Baritone neck - neck pup wiring tweaks and play in
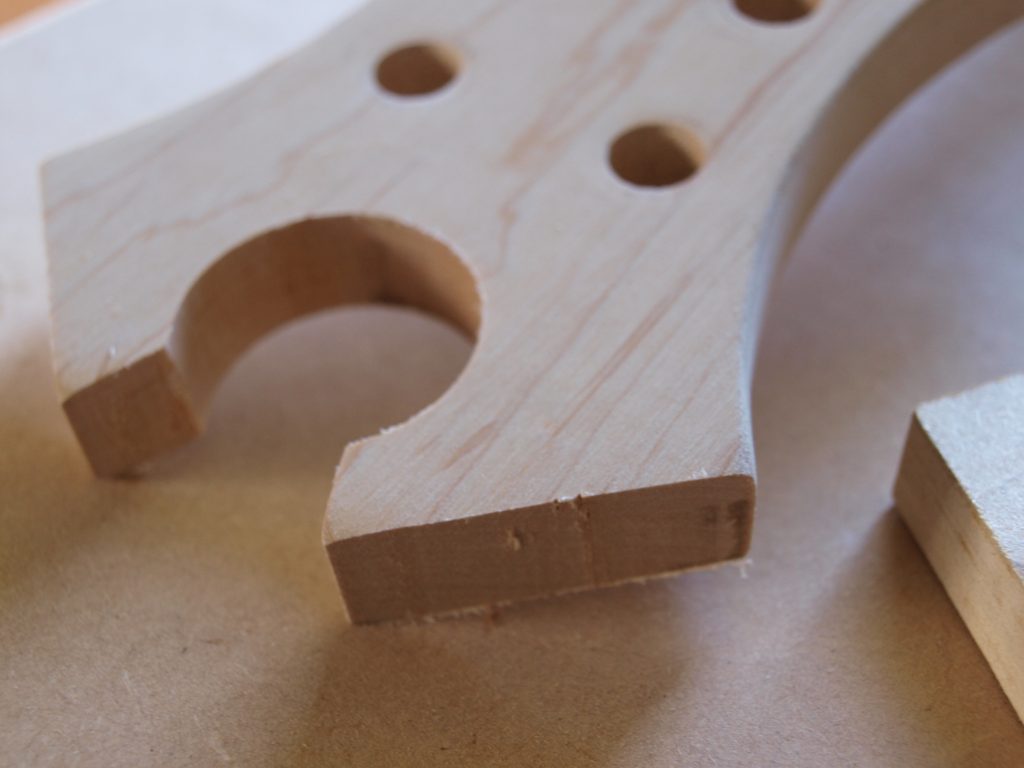
Also routed the headstock today. Needs a bit of sanding to clean it up, but came out how I wanted. Using the router in table format made this sort of job so much easier!
Tell you what, looking at how the paint job has turned out, I'm tempted to fit red LEDs underneath the bridge, so that it glows in the middle. Too much?
Thanks wokkaboy! Took a few coats for us to both find that perfect speed and distance, but got there in the end and it looks pretty spiffy in the end.
Thanks, I'll give that a sand next weekend then.
 Posting Permissions

 Reply With Quote