Hi everyone
Apologies in advance, this may be a bit long...
My kit arrived, and upon opening, looked at all the nice stuff, then the scramble to find the instructions, only to find a piece of paper saying "You what? no instructions here sunshine, try the website, look at some pretty videos, and check out some forum". I was somewhat disappointed. I have built a number of things in kit form, now don't get me wrong, the hardware and guitar parts were all nice and seemed quality, but the kit *as a kit* could do with some work. A bit of labelling and a few pictures of what goes where would be nice.
With that in mind I'm hoping this thread will help other new builders facing this particular kit for the first time. There will be mistakes. My experience with forums such as these is that others with more experience will point out these mistakes, what was done wrong, and how it *should* have been done. This constructive advice is always helpful.
To quote "Only an idiot learns from his mistakes. A wise man learns from *other* people's mistakes" . Now I was sure I got that from Plato or Einstein, or some other notable geek. Sadly, it's from Otto von Bismarck. <raises hand> Yeh.... I'll be that idiot
.
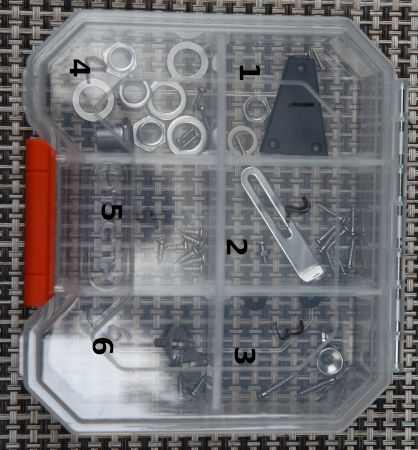
So, first thing that struck me was that the bag with all the screws wasn't marked, so no indication what screws were for what hardware. I think I figured it out...here's a picture of them in the same groupings , only in a box:
As far as I could work out, 1. is the nut and washer for the output jack and the little plastic bit and screws for it that goes just in front of the nut, covering some of the rod adjustment hollow on the neck, 2. is the screws for the two pickups, a mystery bracket and machine screw with nut. Any ideas where the heck that goes? 3. is hardware and screws for the strap buttons. Still haven't worked out where the one at the front goes. 4. is the screws ext for the tuning pegs. 5. is the screws for the controls and pick guard, and finally 6. appears to be the screws for the tail piece and the adjustment screw/nut for the bridge.
Now on to dry fit:
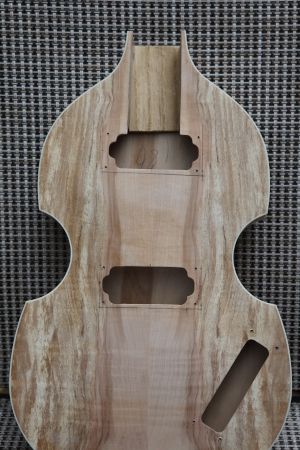
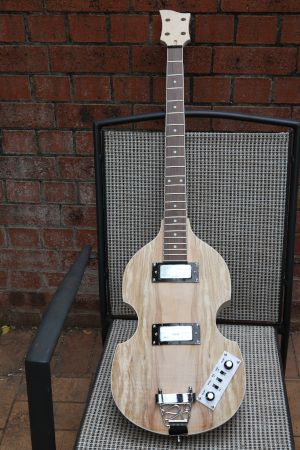
I made an assumption (dangerous at any time) that the body was symmetrical and used the points of the C cutaways on the sides in the middle as reference points. Measured from point to point across and used this to determine the centre line of the body, and marked that with a charcoal pencil (charcoal is realy easy to remove). From there I measured out half the width of the pickup plate either side of the centre and marked that. Then marked the centre of the other axis for each pickup and marked from the centre out. I then marked my holes for the pickups, drilled them, and mounted my pickups.
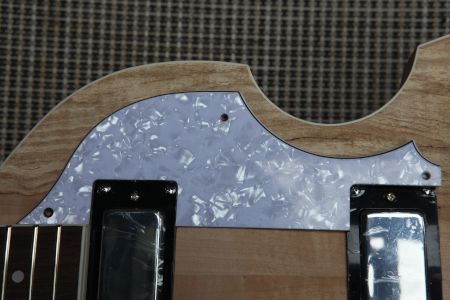
Now, I can hear some of you groaning , shaking your heads sadly and saying nooooooo!. Aaand, here's why:
Yeh, should have used the pick guard to determine the mounting of the pickups.
For the control plate, I put the plate with controls in their hole, moved it to one side and up as far as it would go, marked dots at all the corners, moved it down as far as it would go and did the same thing, then repeated for the other side. This left me with a cluster of four dots at each corner. ( I do have a pic, but I need the 5th for something else). I placed the plate with the corners somewhere in the middle of the four dots and marked my holes.
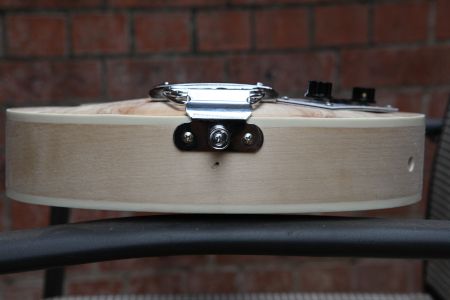
Now I couldn't see a photo of the tail piece that had the right angle to show that the middle screw was the strap button:
You will notice the small hole in the middle. That was for the strap button before I found out it was meant to be in the tail.
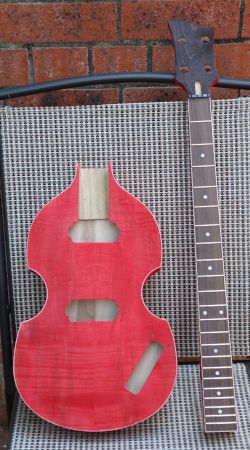
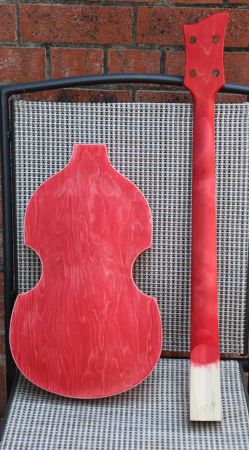
Next is staining.



 Reply With Quote


 . A re-read of some of those did make a bit more sense.
 .
.
 .
.
