Page 1 of 3 1 2 3 LastLast
Results 1 to 10 of 30

Thread: Sanding+TruOil issues

  1. #1

    Sanding+TruOil issues

    Hello folks. I wanted to consult with you about some problems I am having with my first kit. I have sanded it with 320 and 600 for results that seemed "even enough" to me, other than some points where the grain exits the wood outwards and I couldn't really sand. I have never done this before and have probably made some mistake.

    Here is an example:
    Click image for larger version. 

Name:	guitar1.jpg 
Views:	375 
Size:	438.1 KB 
ID:	25775

    If it is hard to see, there are some spots, areas with scratches and matte look in relation to the rest of the body. This is after 4 coats of TruOil, whereas I waited 24 hours between the 1st and 2nd, and 12 hours between each additional coat.

    Can this be fixed? Is it supposed to be like this? Can I sand at this point or will I have to redo the entire thing? Do more coats fix this?

    Any tips will be appreciated.

  2. #2
    GAStronomist Simon Barden's Avatar
    Join Date
    Oct 2016
    Location
    Reading, UK
    Posts
    10,547
    Hi and welcome. I'm doing my first Tru-Oil guitar at the moment, but I know that you are going to be applying many more coats of Tru-Oil to get a really good finish. The first few coats are going to sink well in, especially if you haven't applied a sanding sealer first. So it''s going to look rough and patchy.

    I'd wait a day to allow any more sinkage to occur and the TO to harden a bit more, then give it a sand down and then apply more TO. For a flat shiny finish, you are going to need lots of coats of Tru-Oil, as each coat is very thin. Many of those you will mainly sand off again if you want a flat glossy finish, as you will be using the first load of coats just as fillers for the grain, so that you end up with a flat surface.

    The Tru-Oil coats after that then go to form the protective layer. Even then, you'll need to sand back flat before you can polish it up to a good shine.

  3. Liked by: Peace_less

  4. #3
    Mentor Adam Barnes's Avatar
    Join Date
    Feb 2017
    Location
    norah head nsw
    Posts
    613
    Hi peace, to me it looks like some glue still left on there and the scratches are in the end grain under the clear coating.

  5. Liked by: Peace_less

  6. #4
    Quote Originally Posted by Simon Barden View Post
    Hi and welcome. I'm doing my first Tru-Oil guitar at the moment, but I know that you are going to be applying many more coats of Tru-Oil to get a really good finish. The first few coats are going to sink well in, especially if you haven't applied a sanding sealer first. So it''s going to look rough and patchy.

    I'd wait a day to allow any more sinkage to occur and the TO to harden a bit more, then give it a sand down and then apply more TO. For a flat shiny finish, you are going to need lots of coats of Tru-Oil, as each coat is very thin. Many of those you will mainly sand off again if you want a flat glossy finish, as you will be using the first load of coats just as fillers for the grain, so that you end up with a flat surface.

    The Tru-Oil coats after that then go to form the protective layer. Even then, you'll need to sand back flat before you can polish it up to a good shine.
    Okay, this is encouraging. So the next step is to let it sit for two more days and then sand again? Then I have a few followup questions:

    1. The top of this kit is plywood, and it seems to be already rejecting the oil I put on it. Does this mean it is ready for sanding? How do I know the top and sides are?

    2. How do I sand the grainy parts? I am asking you to explain this to me like I'm an idiot. I take a 320 grit and sand, and the surface stays just as rough as it was. What am I doing wrong?

    Quote Originally Posted by Adam Barnes View Post
    Hi peace, to me it looks like some glue still left on there and the scratches are in the end grain under the clear coating.
    That's... yeah that's actually very possible. So to get rid of it I need to get like a milimeter off the wood, right? I guess I'll give up on it.

  7. #5
    GAStronomist Simon Barden's Avatar
    Join Date
    Oct 2016
    Location
    Reading, UK
    Posts
    10,547
    What kit is it? One of the thinline Tele kits? The ply tops are normally pretty smooth and used closed-grain wood, so it won't take too much Tru-Oil before you start to build up layers on top of the base layers.you might want to stop on the top and get the sides and back up to a similar condition

    To smooth the end grain, you'll need to go a lot rougher than 320 grit. I'd start with some 80 grit and then work your way up.

  8. #6
    Moderator Brendan's Avatar
    Join Date
    Apr 2013
    Location
    Perth, WA
    Posts
    3,444
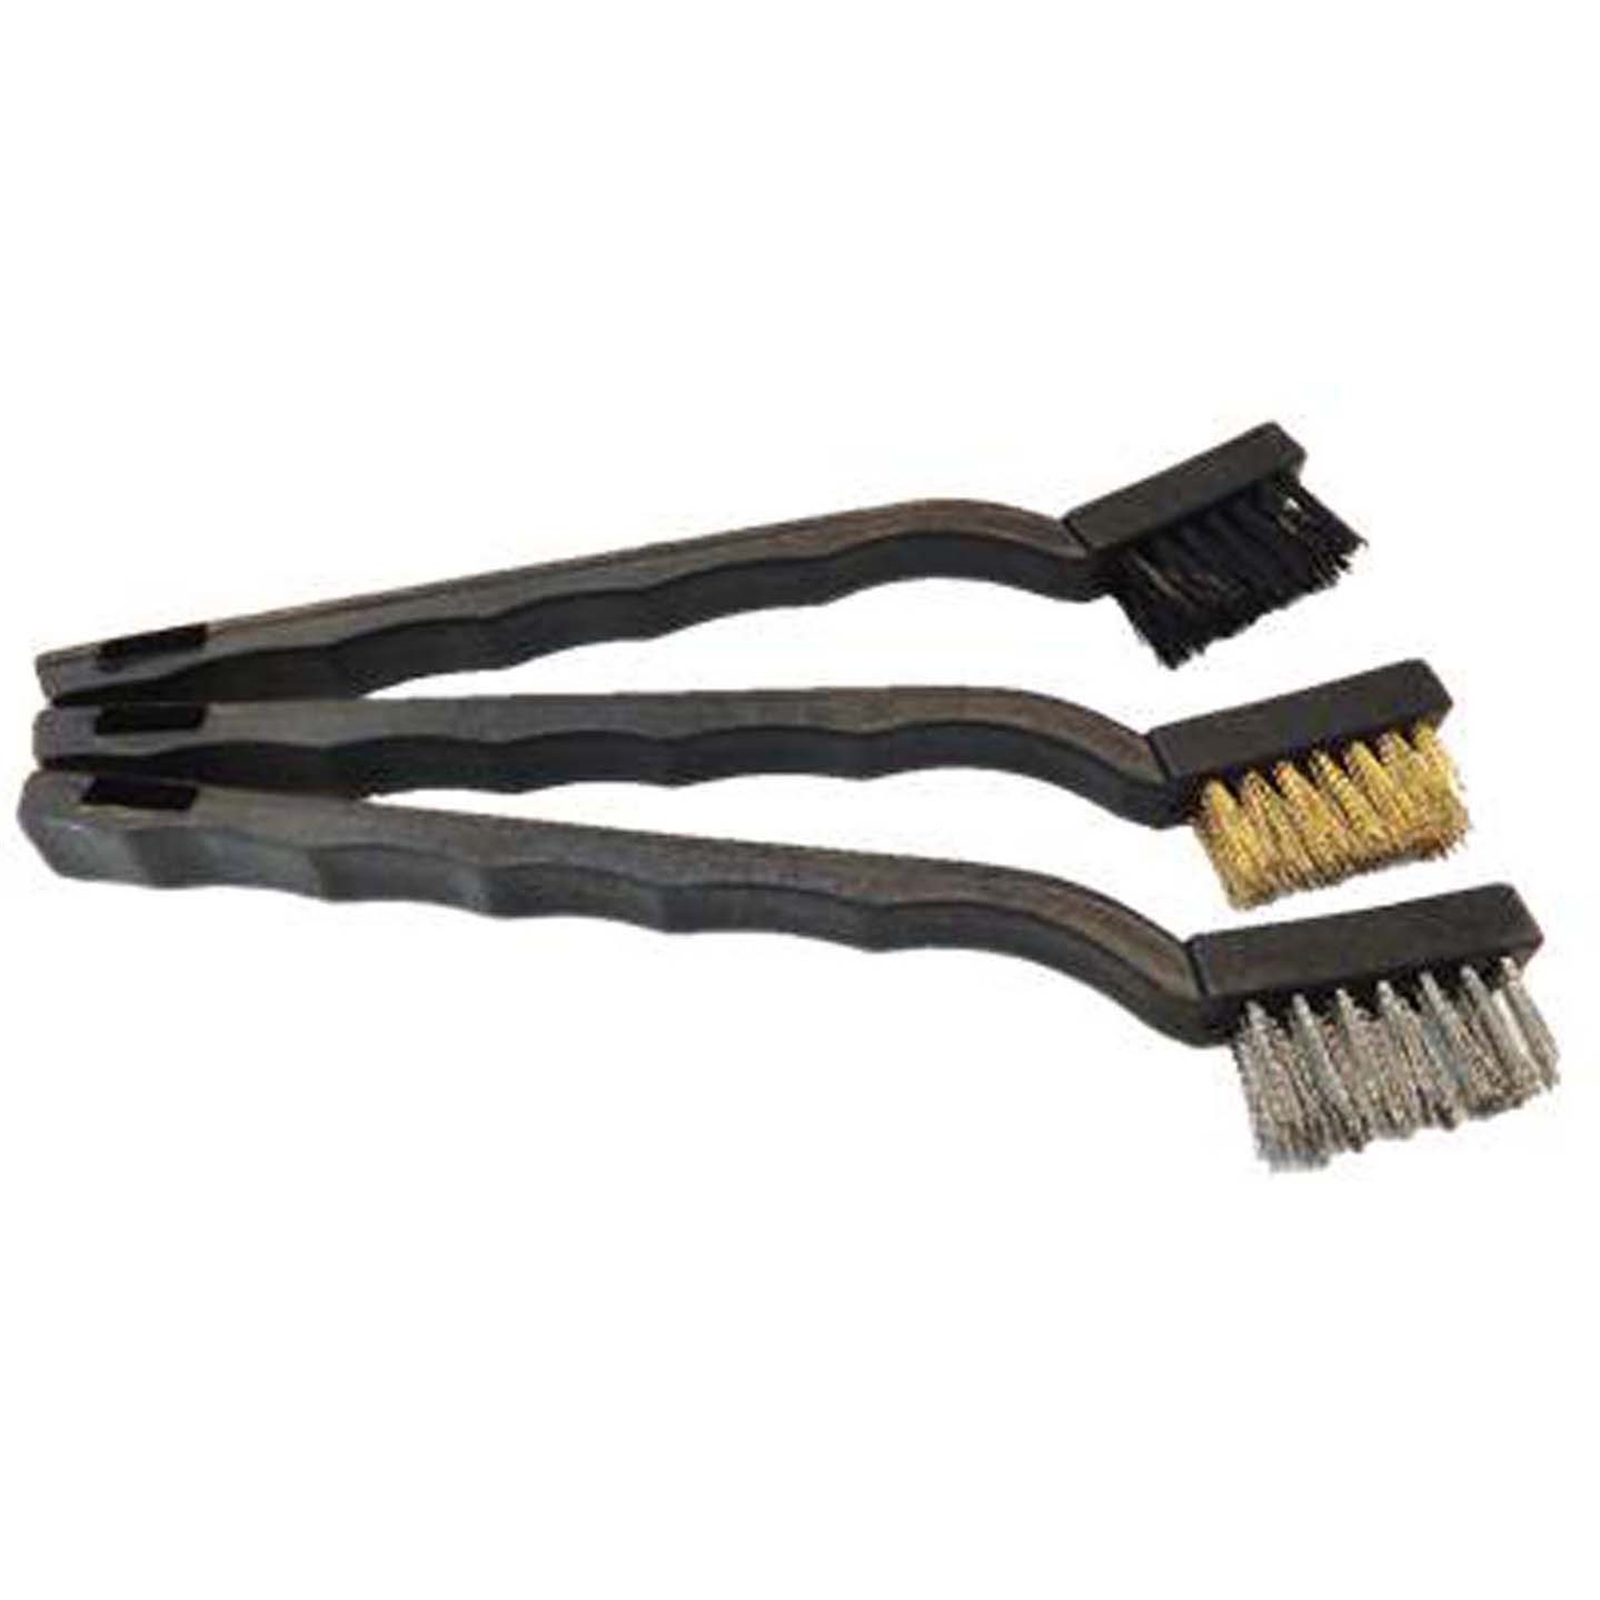
    If its a glue patch, you could try scratching with a small wire brush -

  9. #7
    Quote Originally Posted by Simon Barden View Post
    What kit is it? One of the thinline Tele kits? The ply tops are normally pretty smooth and used closed-grain wood, so it won't take too much Tru-Oil before you start to build up layers on top of the base layers.you might want to stop on the top and get the sides and back up to a similar condition

    To smooth the end grain, you'll need to go a lot rougher than 320 grit. I'd start with some 80 grit and then work your way up.
    It's the HBB-5 semihollow bass. Top is plywood, the rest is normal wood, 3 pieces. I have only now learned about the term "end grain". Gonna try. On the neck too - only the very edge of the headstock has this problem, obviously, and its color is much darker after the 4 layers.

    I will stop with the top, that's a great tip. Backside is okish, but sides are awful. Gonna try re-sanding. But I will leave it for a week to solidify, first. By the way, is there any particularly good way to sand this endgrain? Cuz "with the grain" is obviously irrelevant.

    Thank you for bringing more hope into this. I considered just slapping it together sloppily and hanging it on the wall or something.

    Quote Originally Posted by Brendan View Post
    If its a glue patch, you could try scratching with a small wire brush
    Interesting thought. Is it too late if I already have tru oil on? And will it sand off?
    Last edited by Peace_less; 05-04-2018 at 11:09 PM.

  10. #8
    GAStronomist Simon Barden's Avatar
    Join Date
    Oct 2016
    Location
    Reading, UK
    Posts
    10,547
    Sometimes you have to take a step back to then move forwards. I'm doing it all the time. Yes, TO will sand off. You've either got to just add loads of TO coats, so that it's thick enough to sand back to a flat surface over rough grain, or else you get the wood really smooth first before applying any TO, so that you have to apply fewer coats of TO. Most people here end up putting around 30 coats of TO on, with sandings every 4-5 coats or so.

    Towards the end, you can thin the TO with turps about 50/50, so it's a bit more liquid and doesn't leave so many ridges in the finish when wiping it on. It obviously goes on a bit thinner as well, so wait until you've done the main building-up with the full strength TO.

  11. #9
    Mentor Rabbitz's Avatar
    Join Date
    Apr 2015
    Location
    Barossa Valley, South Australia
    Posts
    763
    How are you applying the Tru-Oil?

    The method I use was shown to me by a gunsmith a long time ago and he had been using it for much longer than that.

    You will need the body or neck sanded to where you want it.
    Tack cloth
    Jersey cloth (t-shirt material) preferably new stuff rather than an old t-shirt as it will have more body.
    Tru-Oil.
    XXXX Grade Steel Wool.

    After sanding I use a tack cloth to remove dust, then get a damp cloth and rub over the sanded surface. This will make loose wood fibres stand up.

    These are then sanded off and a tack cloth used again.

    Now using a folded square of jersey (t-shirt material) place it over the neck of the T/O bottle and briefly invert the bottle to get a small amount on the cloth.

    Start to rub the oil onto the a small patch of the timber in a swirling motion, keep going until you feel resistance. The T/O will sort of get slightly tacky.

    Put some more T/O on the cloth and do the same for an adjacent area. Try not to overlap too much.

    Repeat until the whole area is covered. Hang the body or neck in a dust free place and leave it alone for a few days. Now take the used cloth and submerge it in a bucket of water and leave it there. Tru-Oil soaked cloth has been known to spontaneously combust - I've never seen but I know people who have.

    Do a second and third coat in the same manner.

    Lightly rub with the XXXX steel wool. Wipe down and run over with the tack cloth to catch and bits and any steel wool fibres.

    Do your fourth coat. Now you can probably start applying coats a bit more often even six or eight hours apart if it is not cold or if it is very low humidity.

    Keep applying coats until you are happy with the finish. Every four or five coats knock it back with a very light going over with the steel wool.

    I have done well over 30 coats on rifle stocks.

    By the way, leave the usd cloths in the water for a couple of days then dry them out in the sun before turfing them out.

    Now here is something that a lot of guitar forums seem to miss about Tru-Oil. It is a rifle stock coating. Which means it is hardy and resilient to water, grime and sweat. As a rifle stock coating it is not really designed to be glossy and slippery, Satin-Gloss with grip is probably what it is best described as.

    It is not a guitar coating which means super slippery and glossy it ain't.

    Don't rush it, enjoy the cathartic release of sitting in the man-cave rubbing your wood. Patience is the secret.
    Last edited by Rabbitz; 06-04-2018 at 12:06 PM. Reason: coz I carn't spel gud
    Col.

    I admit that I am an agent of Satan, however, my duties are largely ceremonial.

    \m/

  12. #10
    Mentor Adam Barnes's Avatar
    Join Date
    Feb 2017
    Location
    norah head nsw
    Posts
    613
    Dont give up peace, its not easy to make a guitar but playing a guitar that you made is very rewarding 2 steps forward 1 step back

Page 1 of 3 1 2 3 LastLast

Tags for this Thread

Posting Permissions

  • You may not post new threads
  • You may not post replies
  • You may not post attachments
  • You may not edit your posts
  •