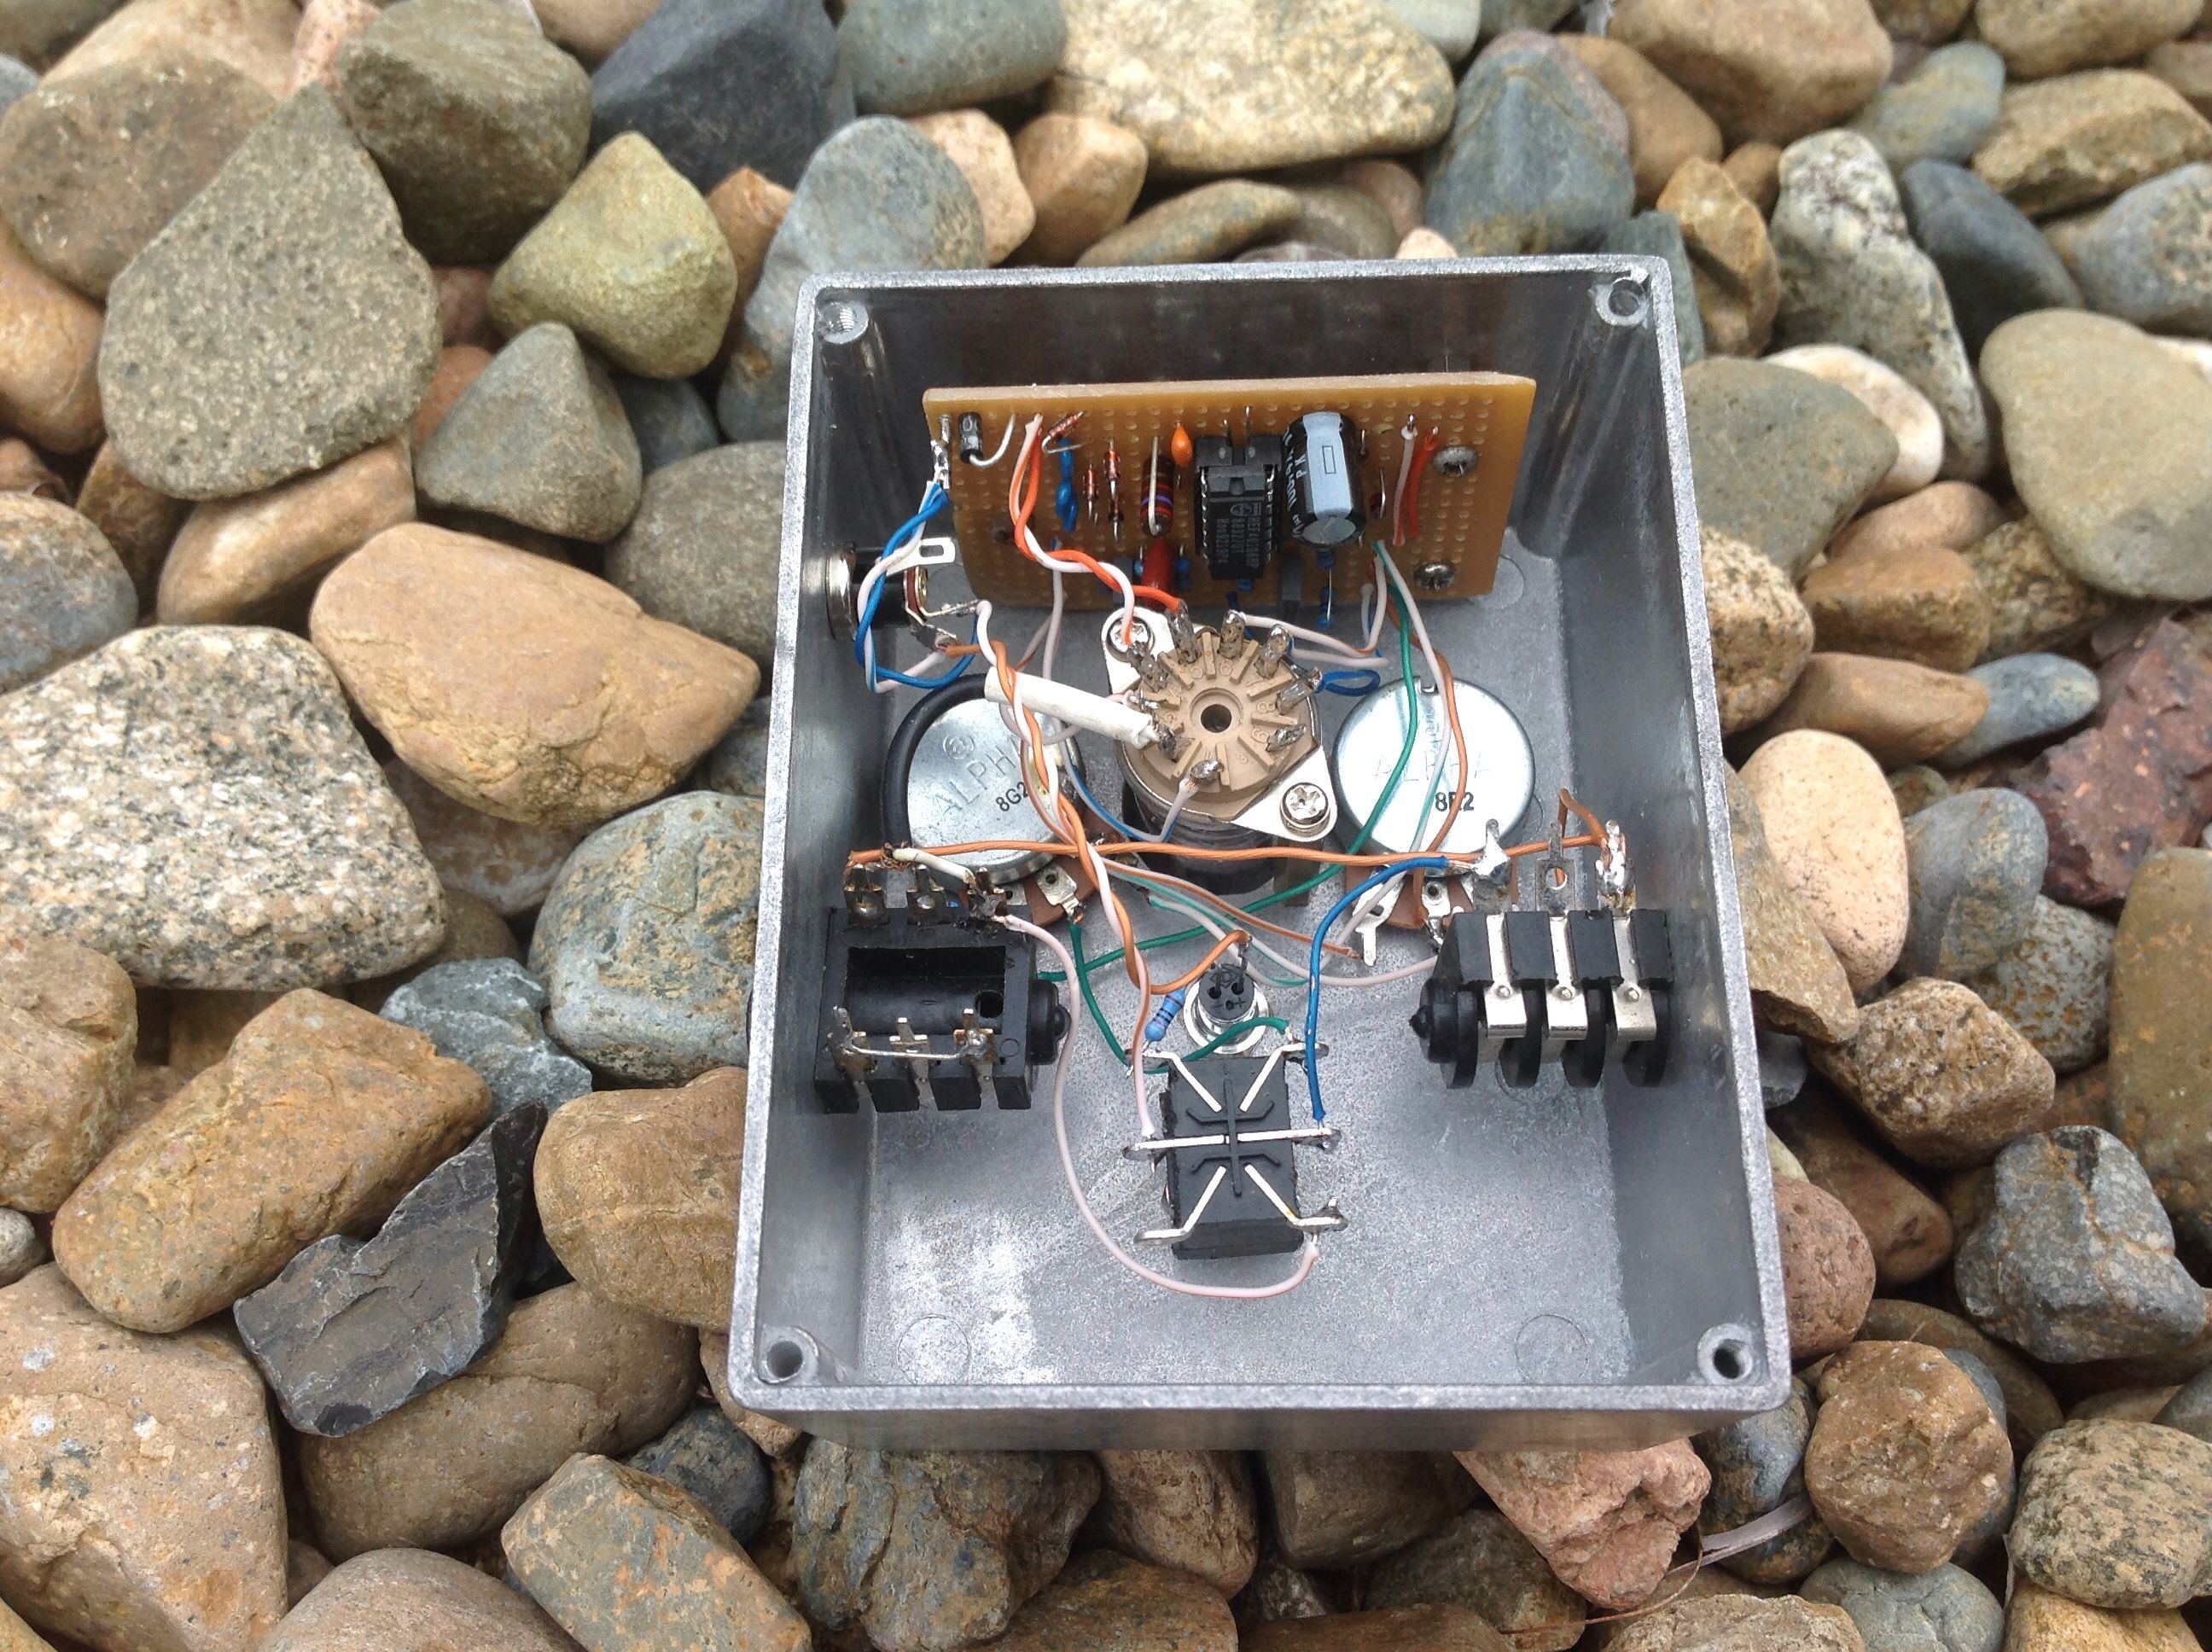
Amazingly, it worked first time!
Red on bypass (9v or 12v):

Violet active on 9v:

Yellowy Green active on 12v:

Basically, the RGB LED always has the red on and then either the blue (9v) or green (12v) is added when active giving violet and yellow-green respectively.
Done and done. I was going to paint the enclosure when I first planned this, but now I'm thinking I'll leave it... at least for now.

I still need to experiment with the sounds and how it changes with the voltage. It has a little less 'oomph' on 9v but the overall sound isn't that different. I've only tried it on a little solid-state amp so far, but it gave that a bit of tube-ishness which was nice. I used a 12AU7 tube like Lawry's, but may try a few alternatives when/if I get time. Thanks again for the circuit and inspiration Lawry!


 Reply With Quote