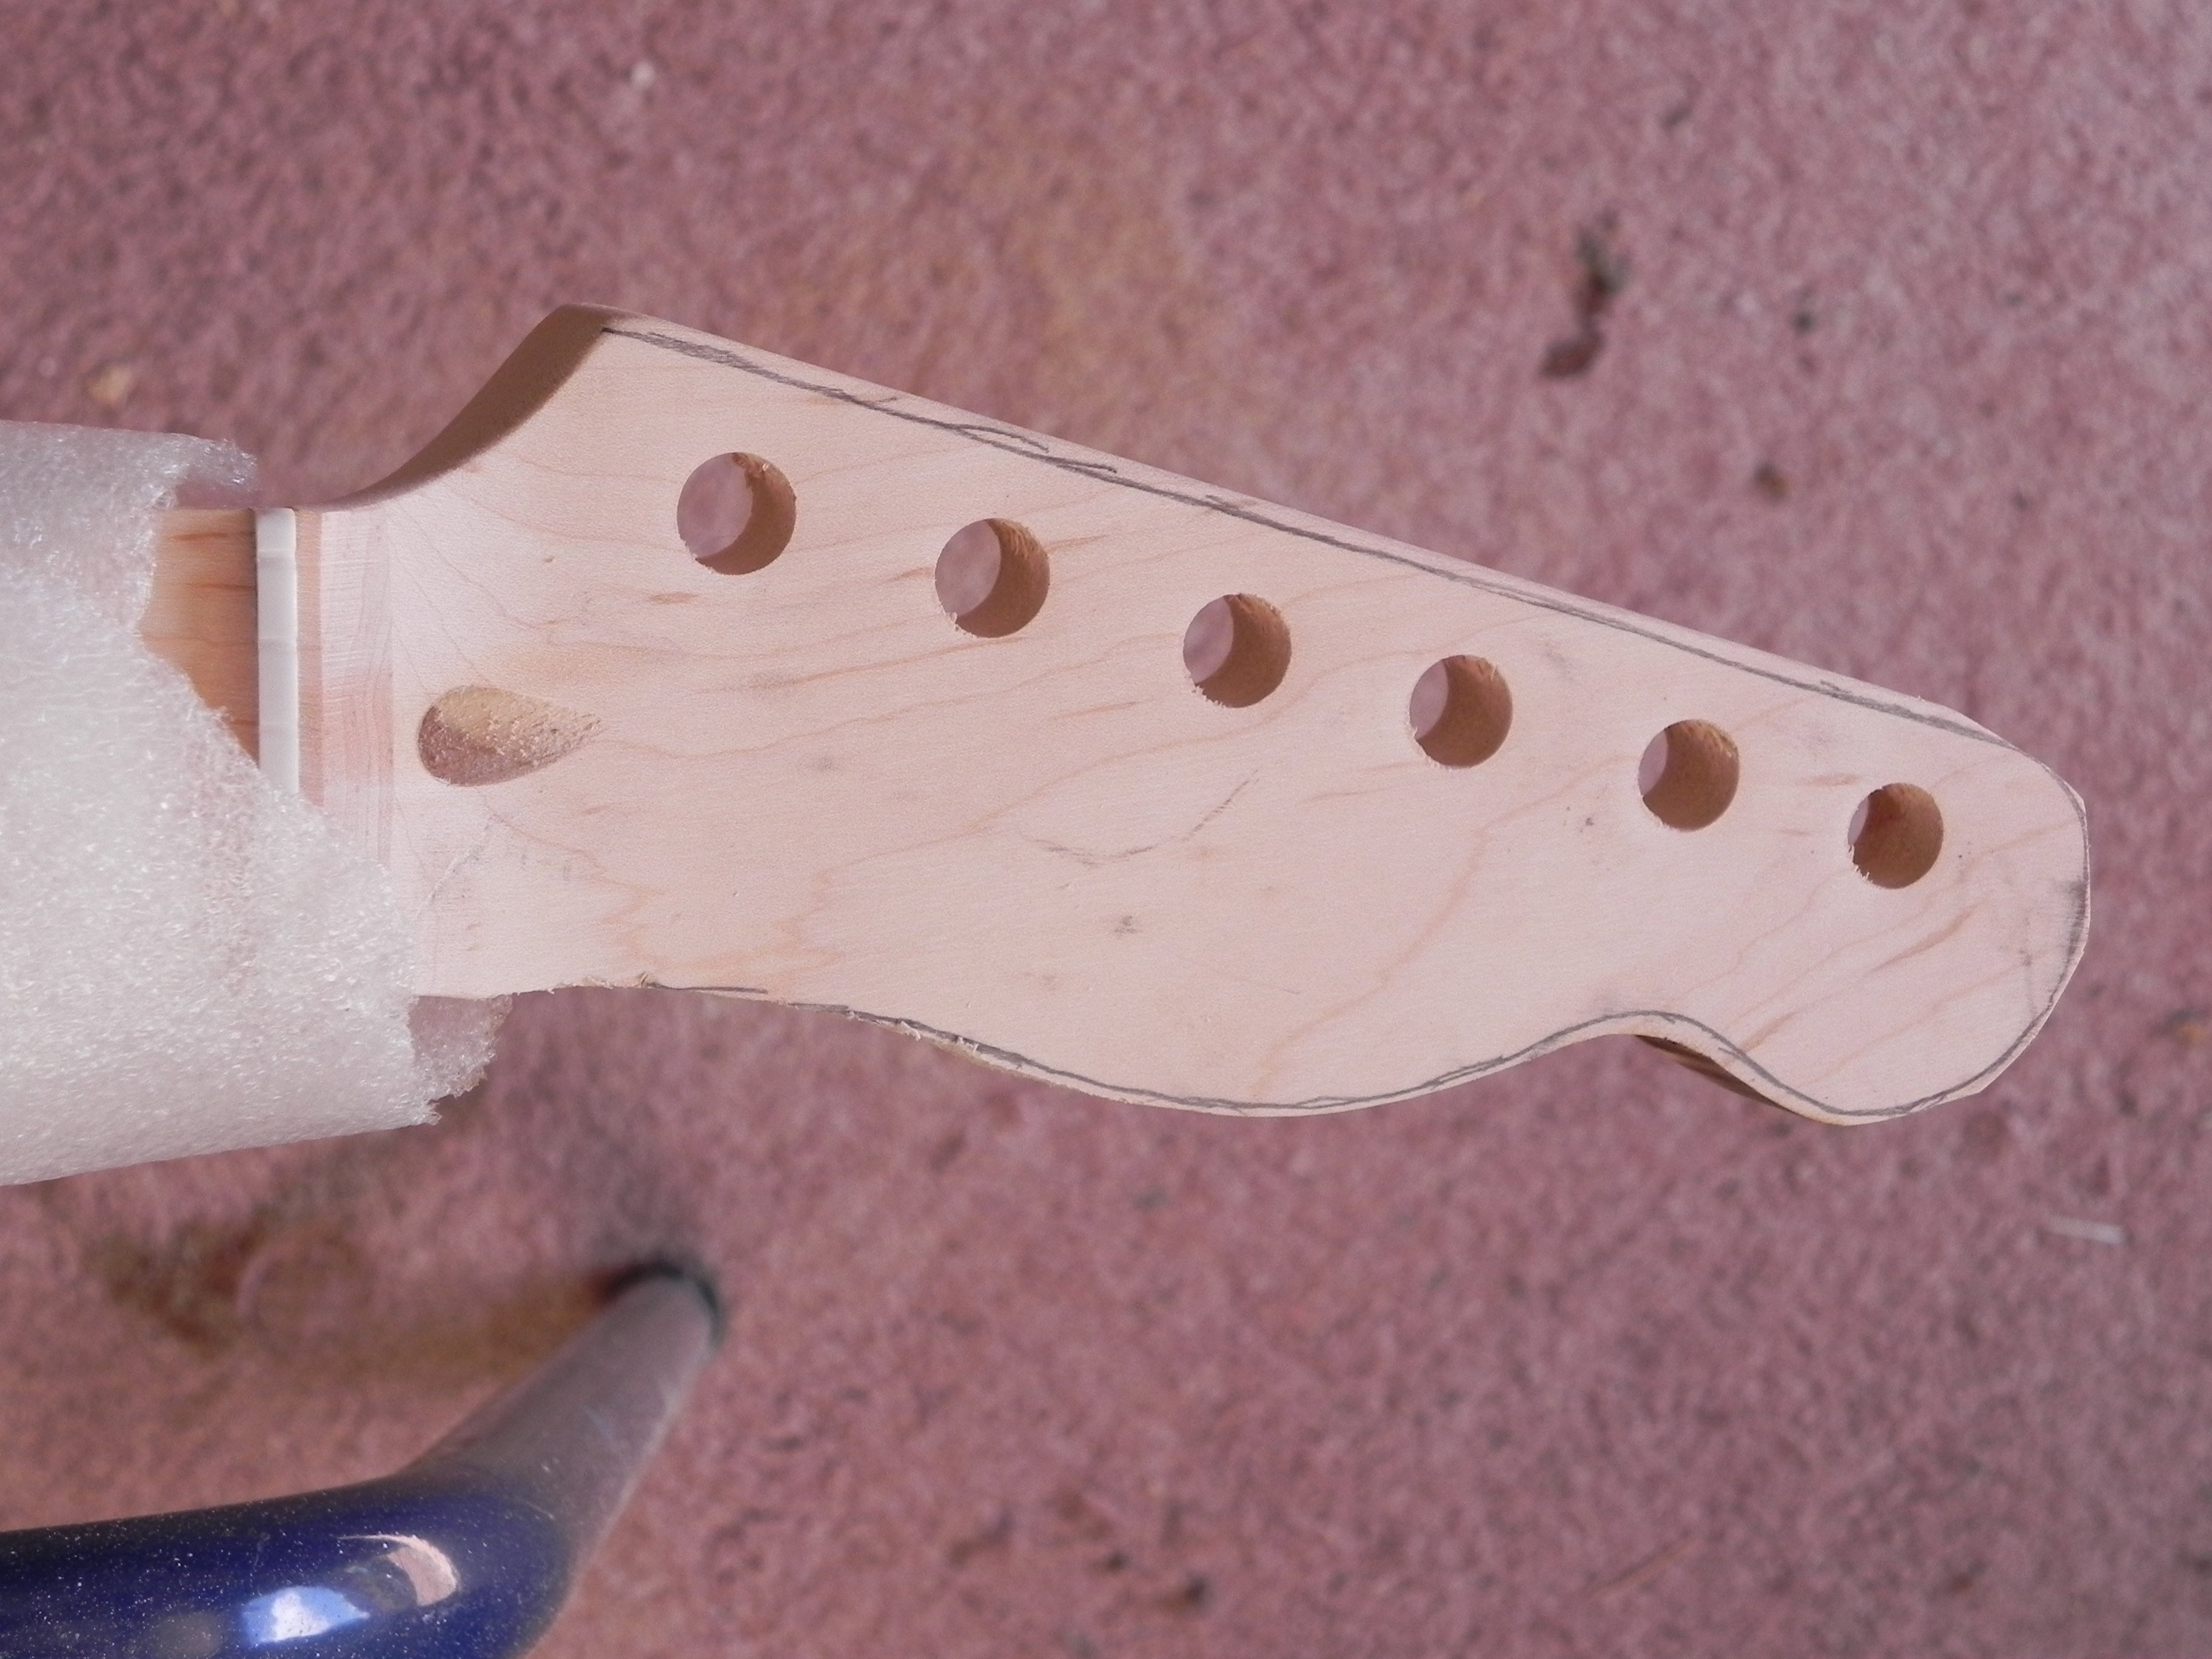
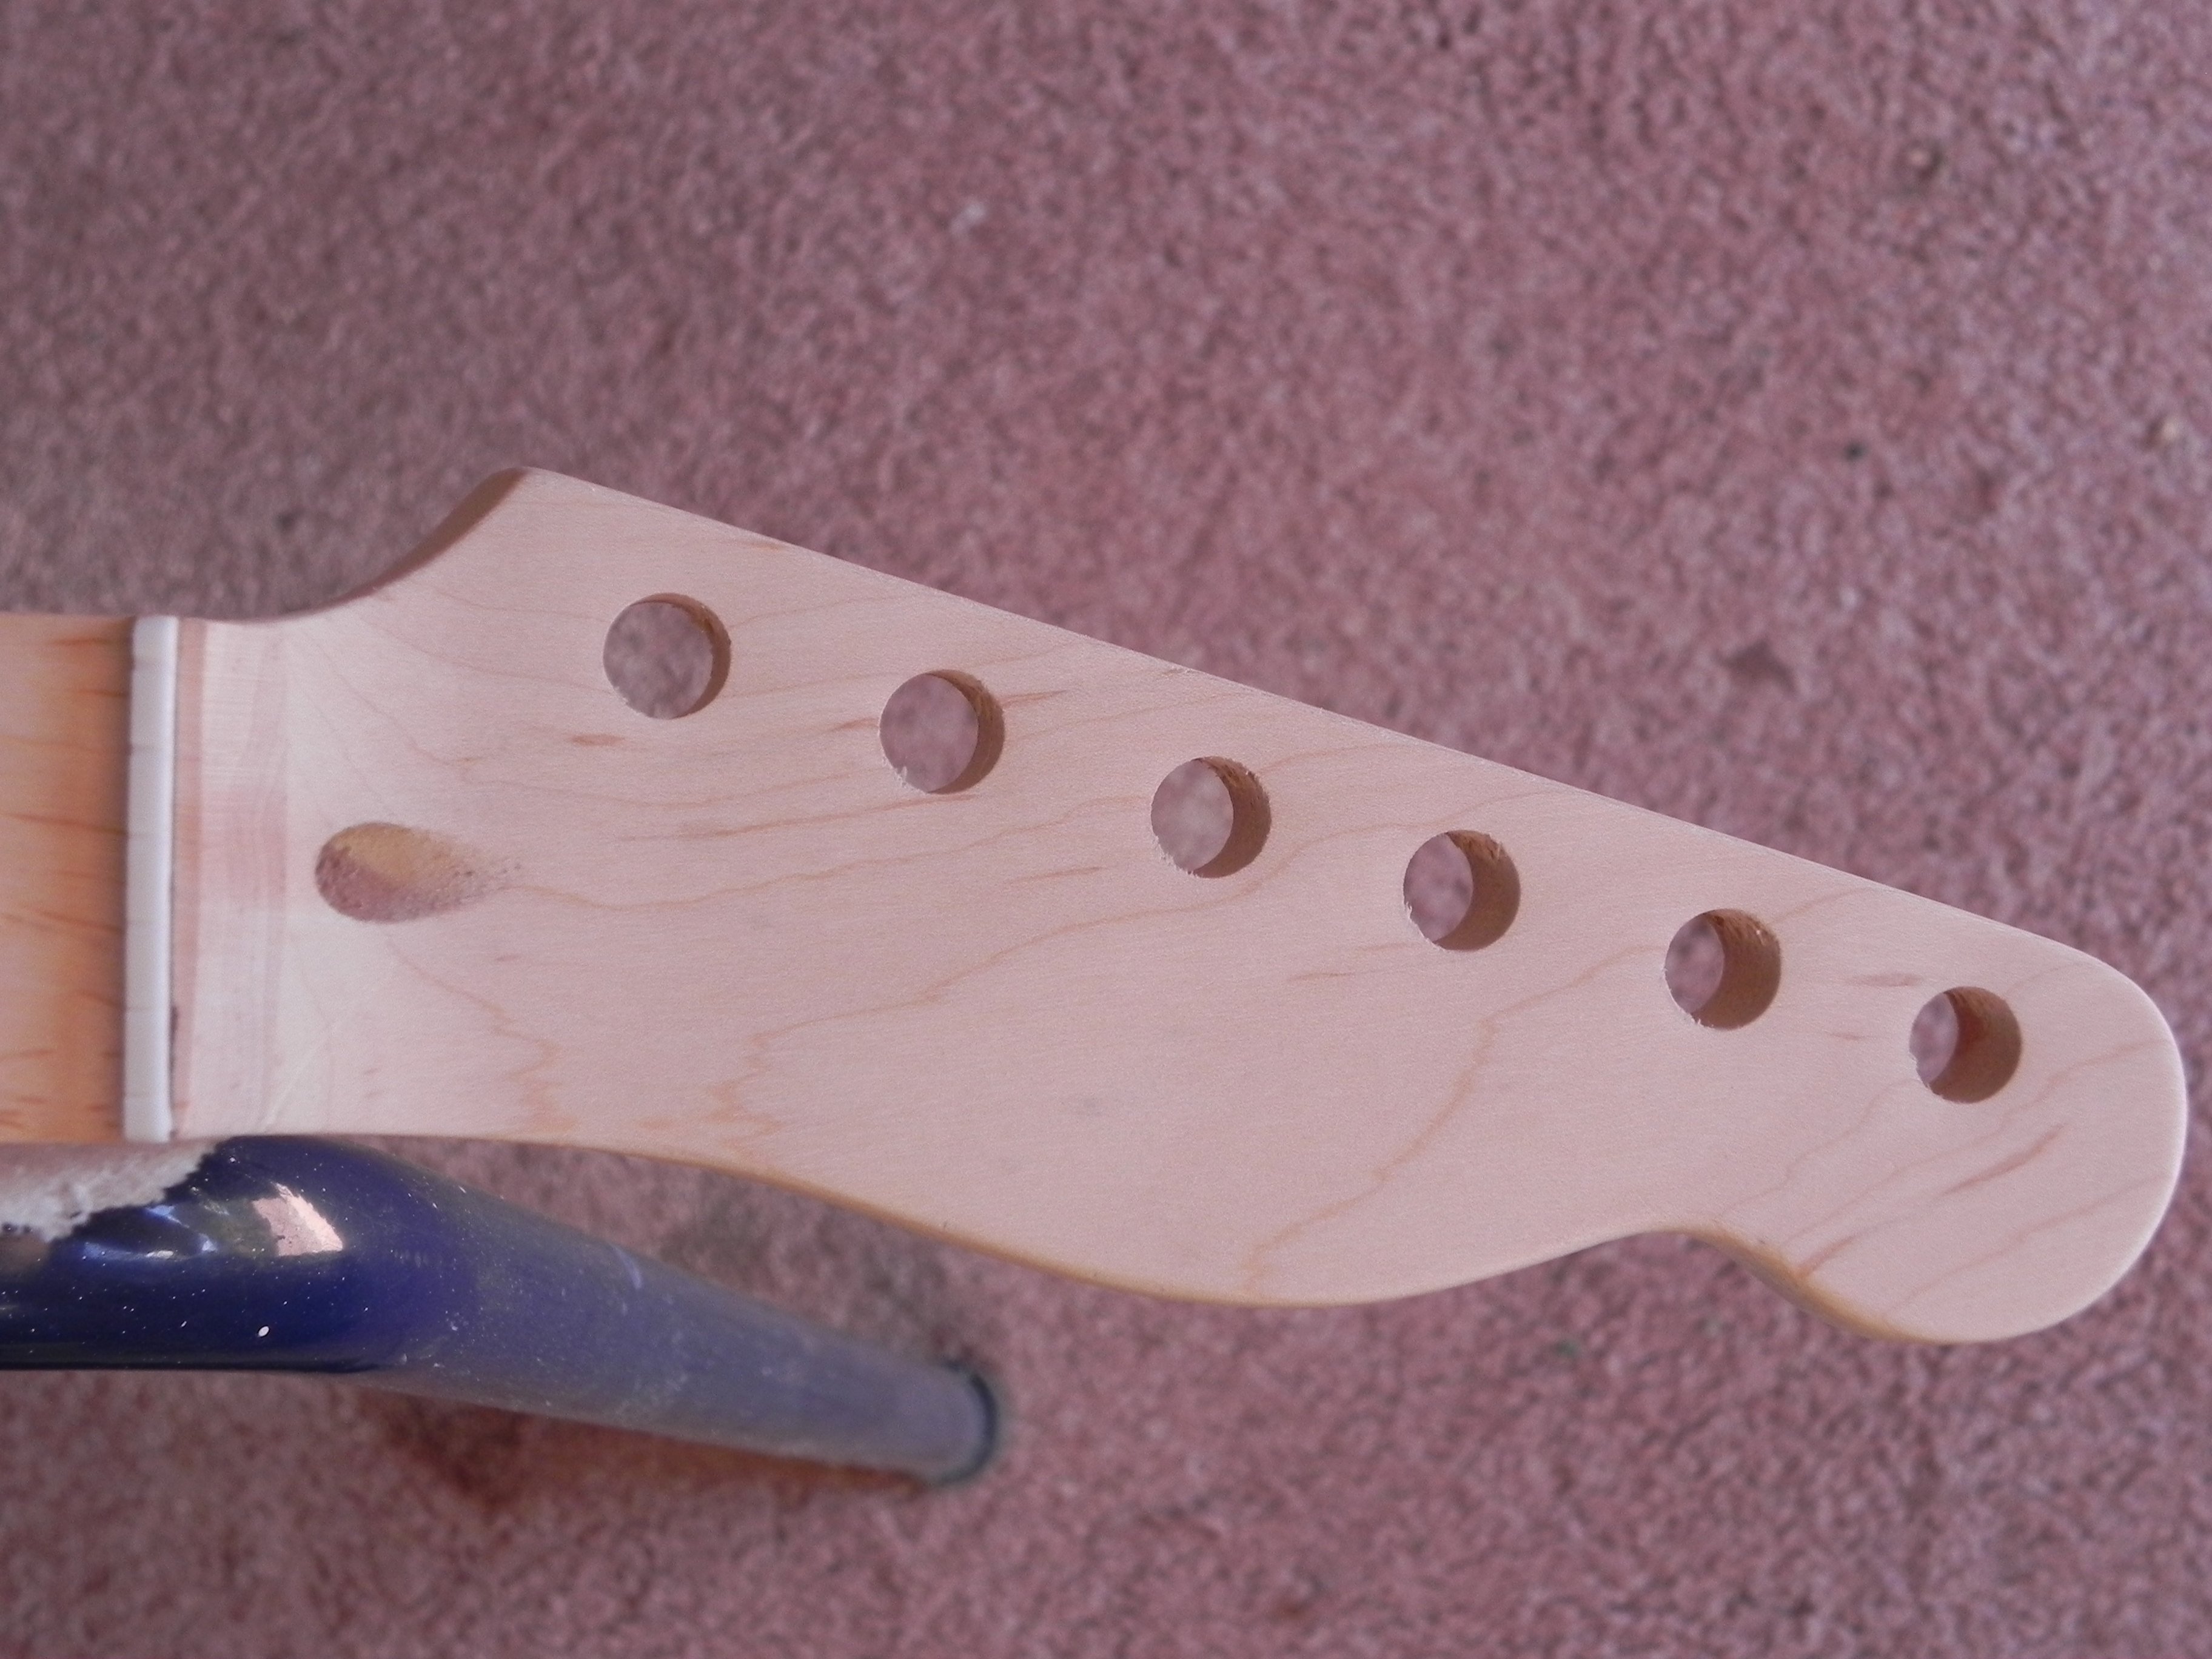
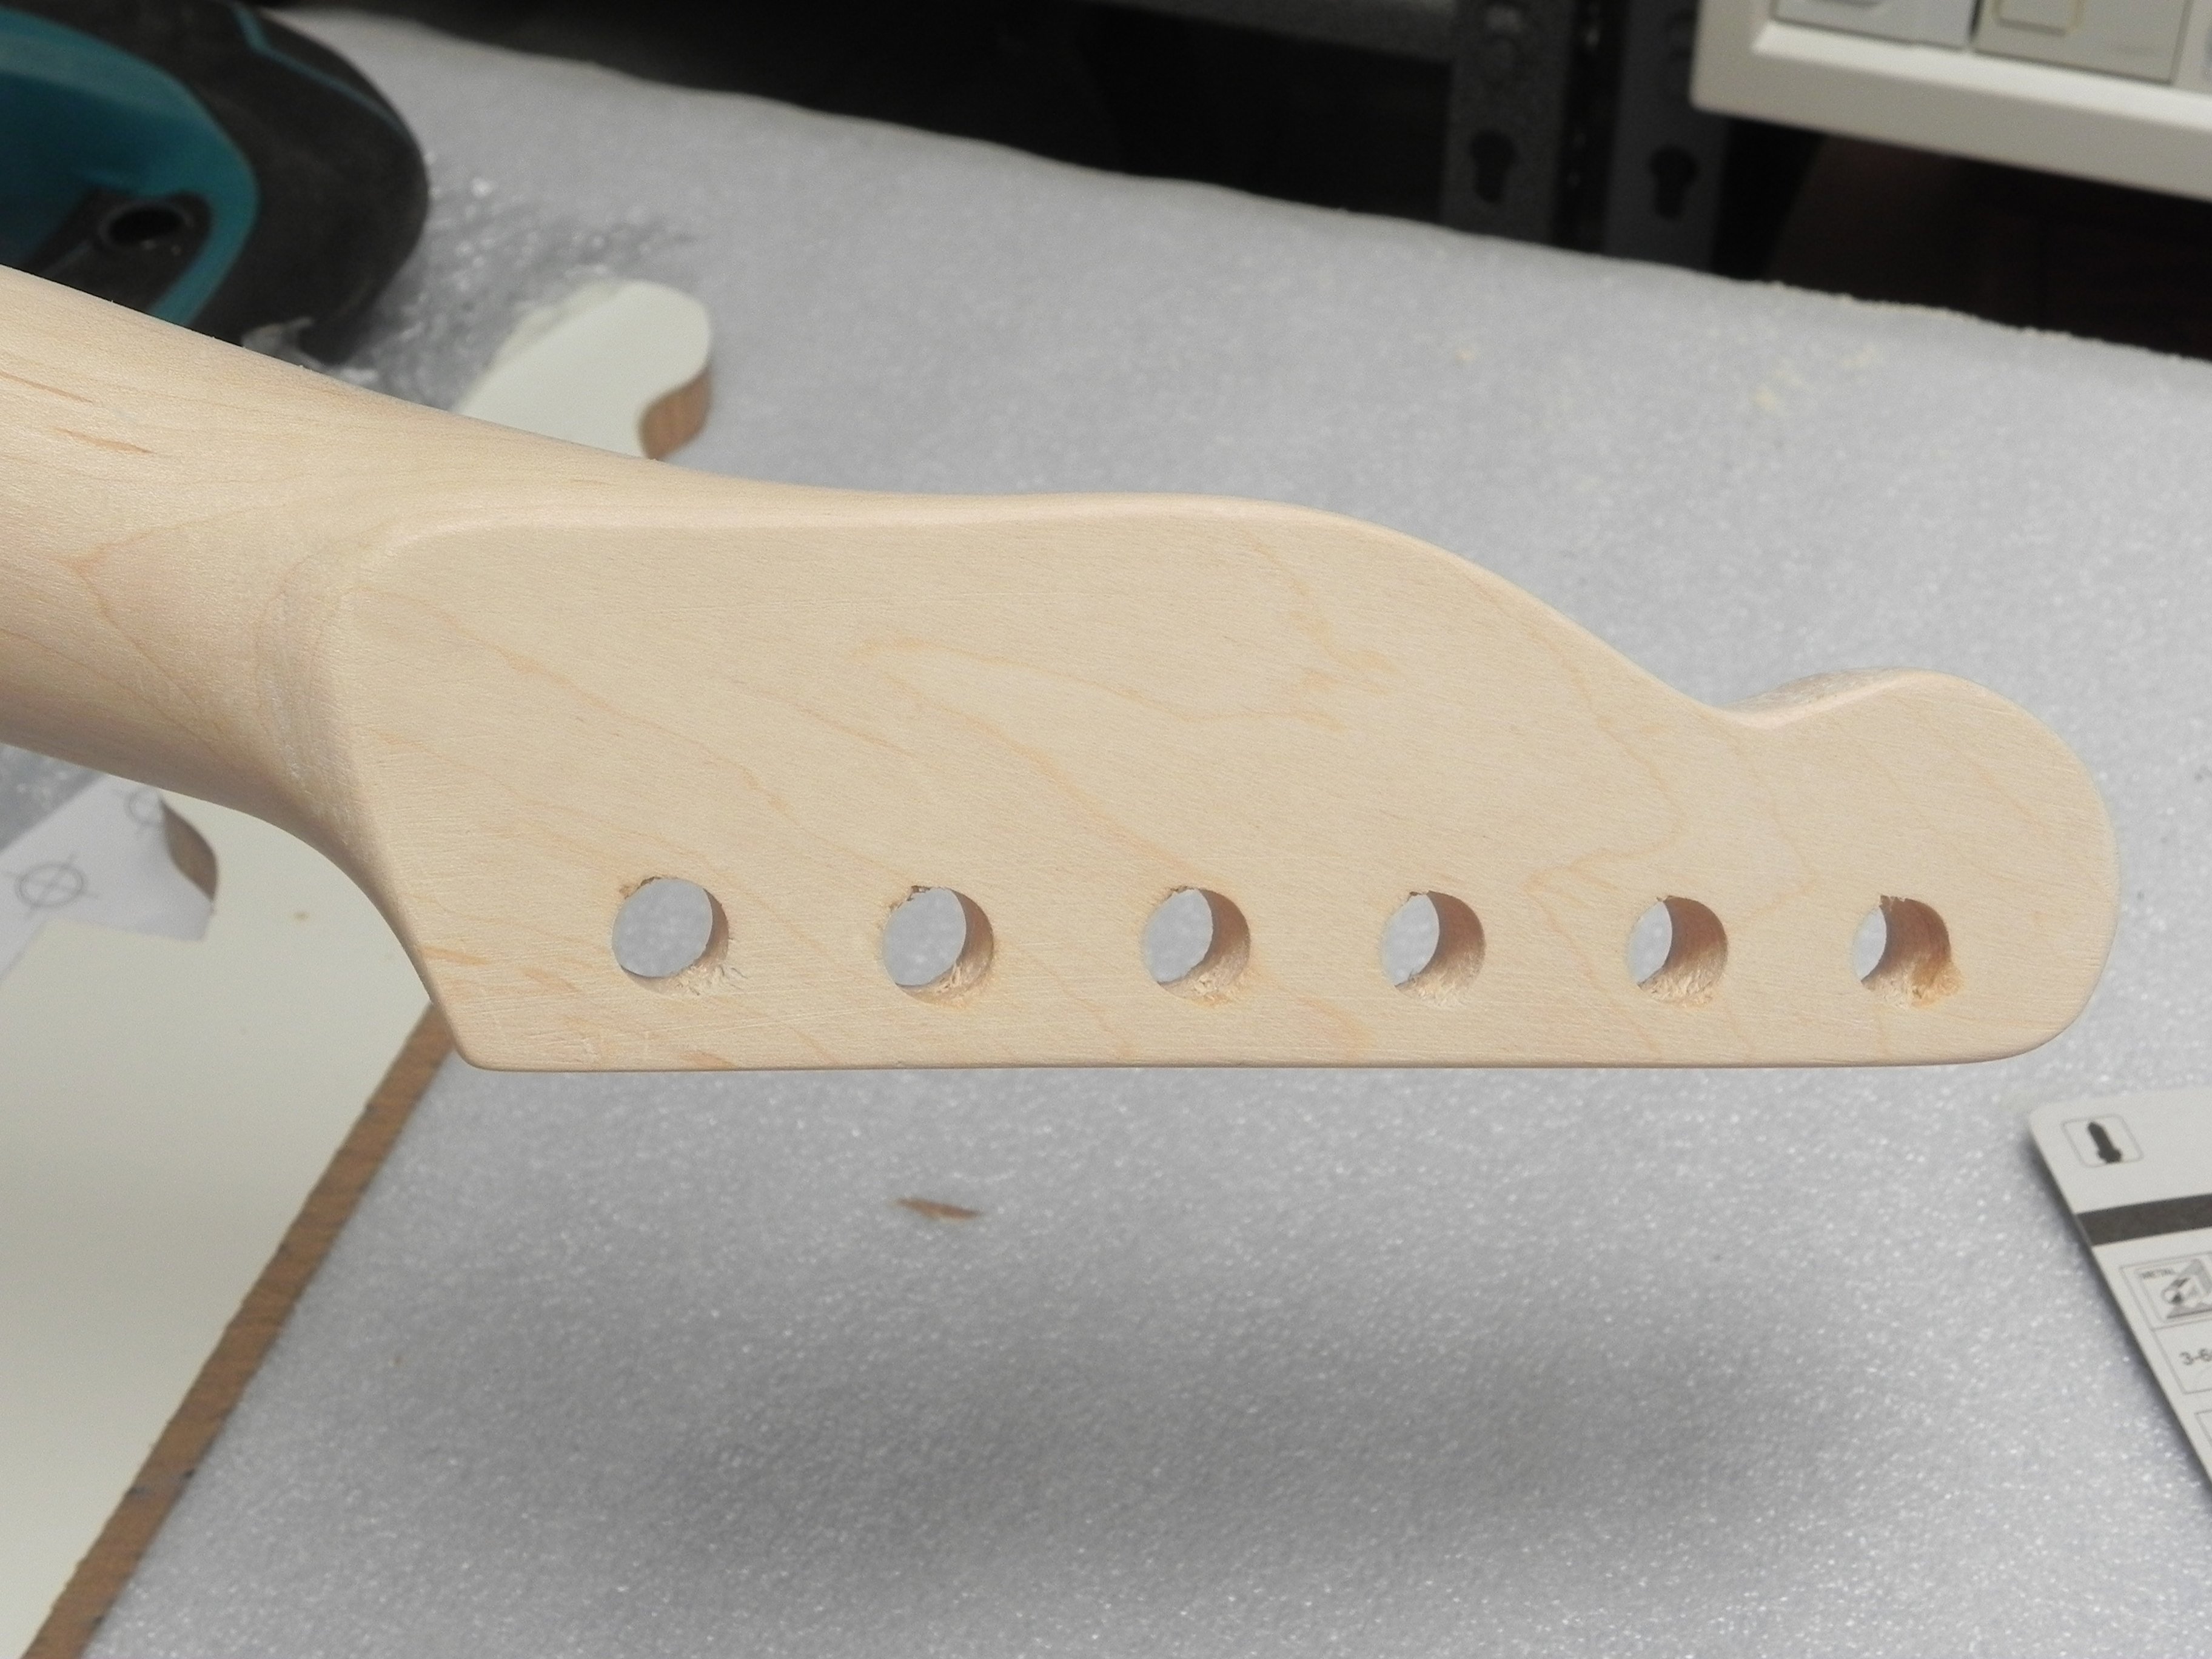
Got around to doing the headstock today, after clearing some gutters. I swear, the previous owners of this place never did any maintenance. I filled my barrow three times with all the dead leaves, dirt and matted fibrous matter from just one side of the house. But I digress.
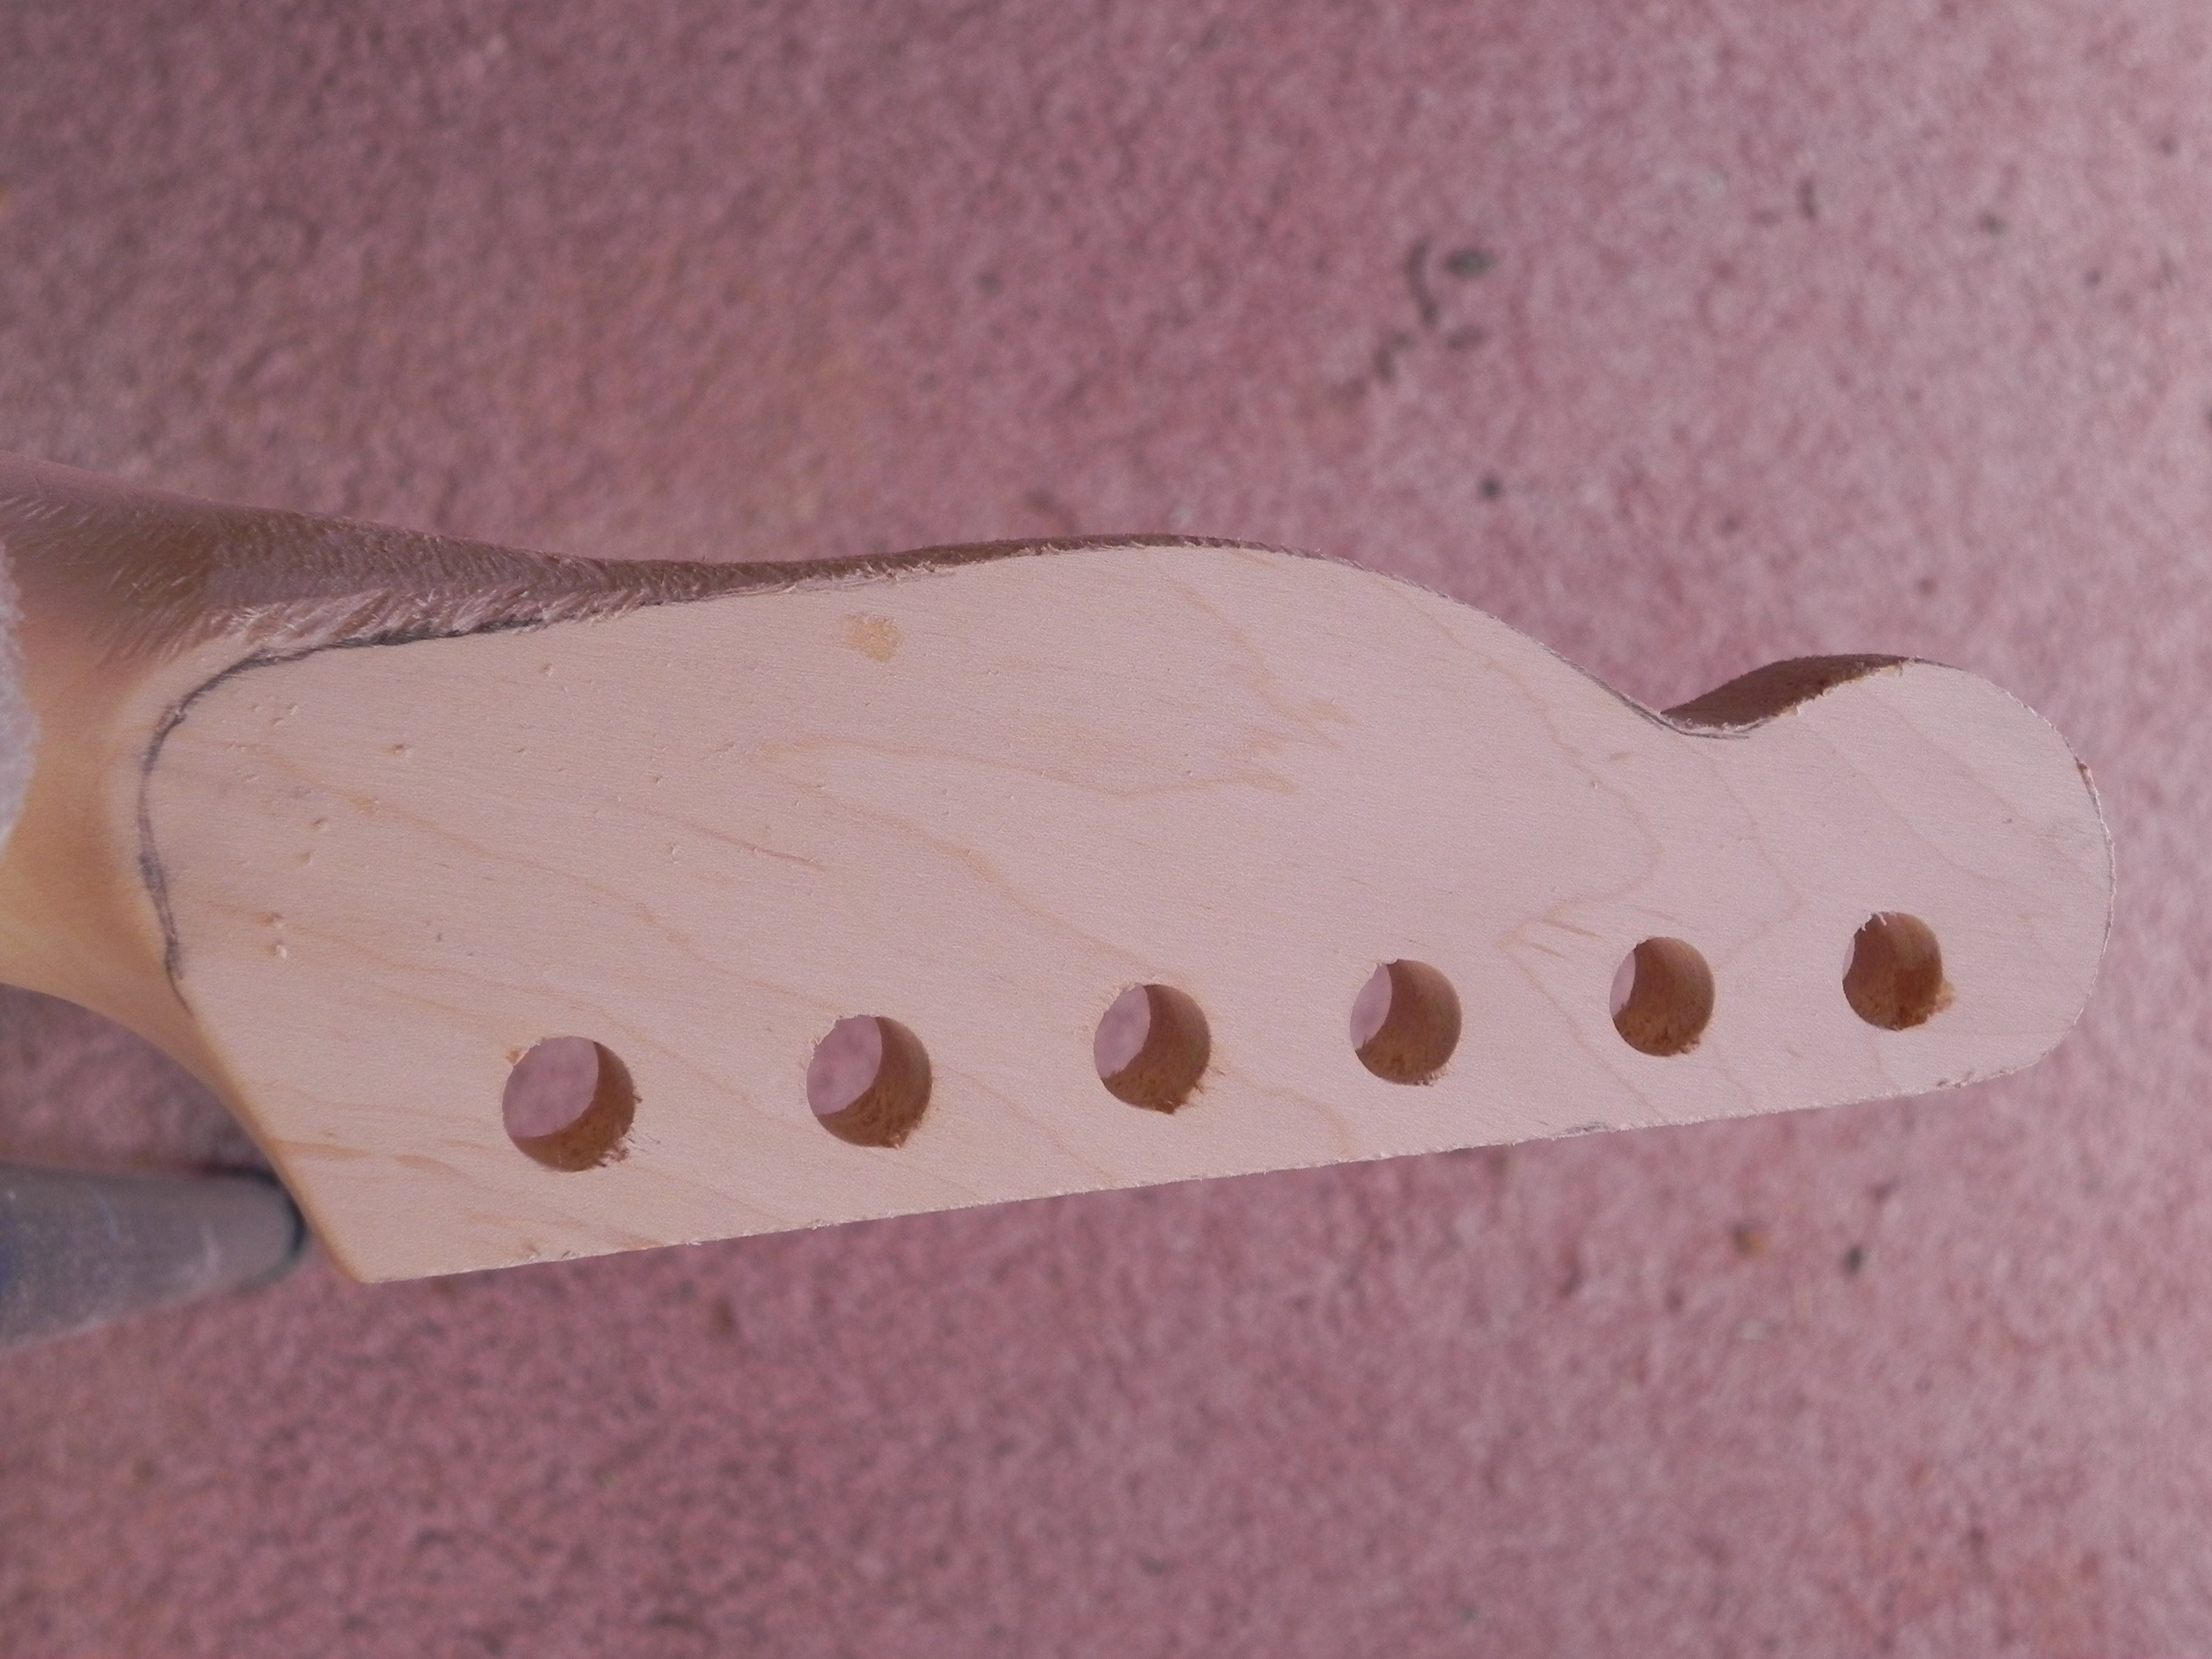
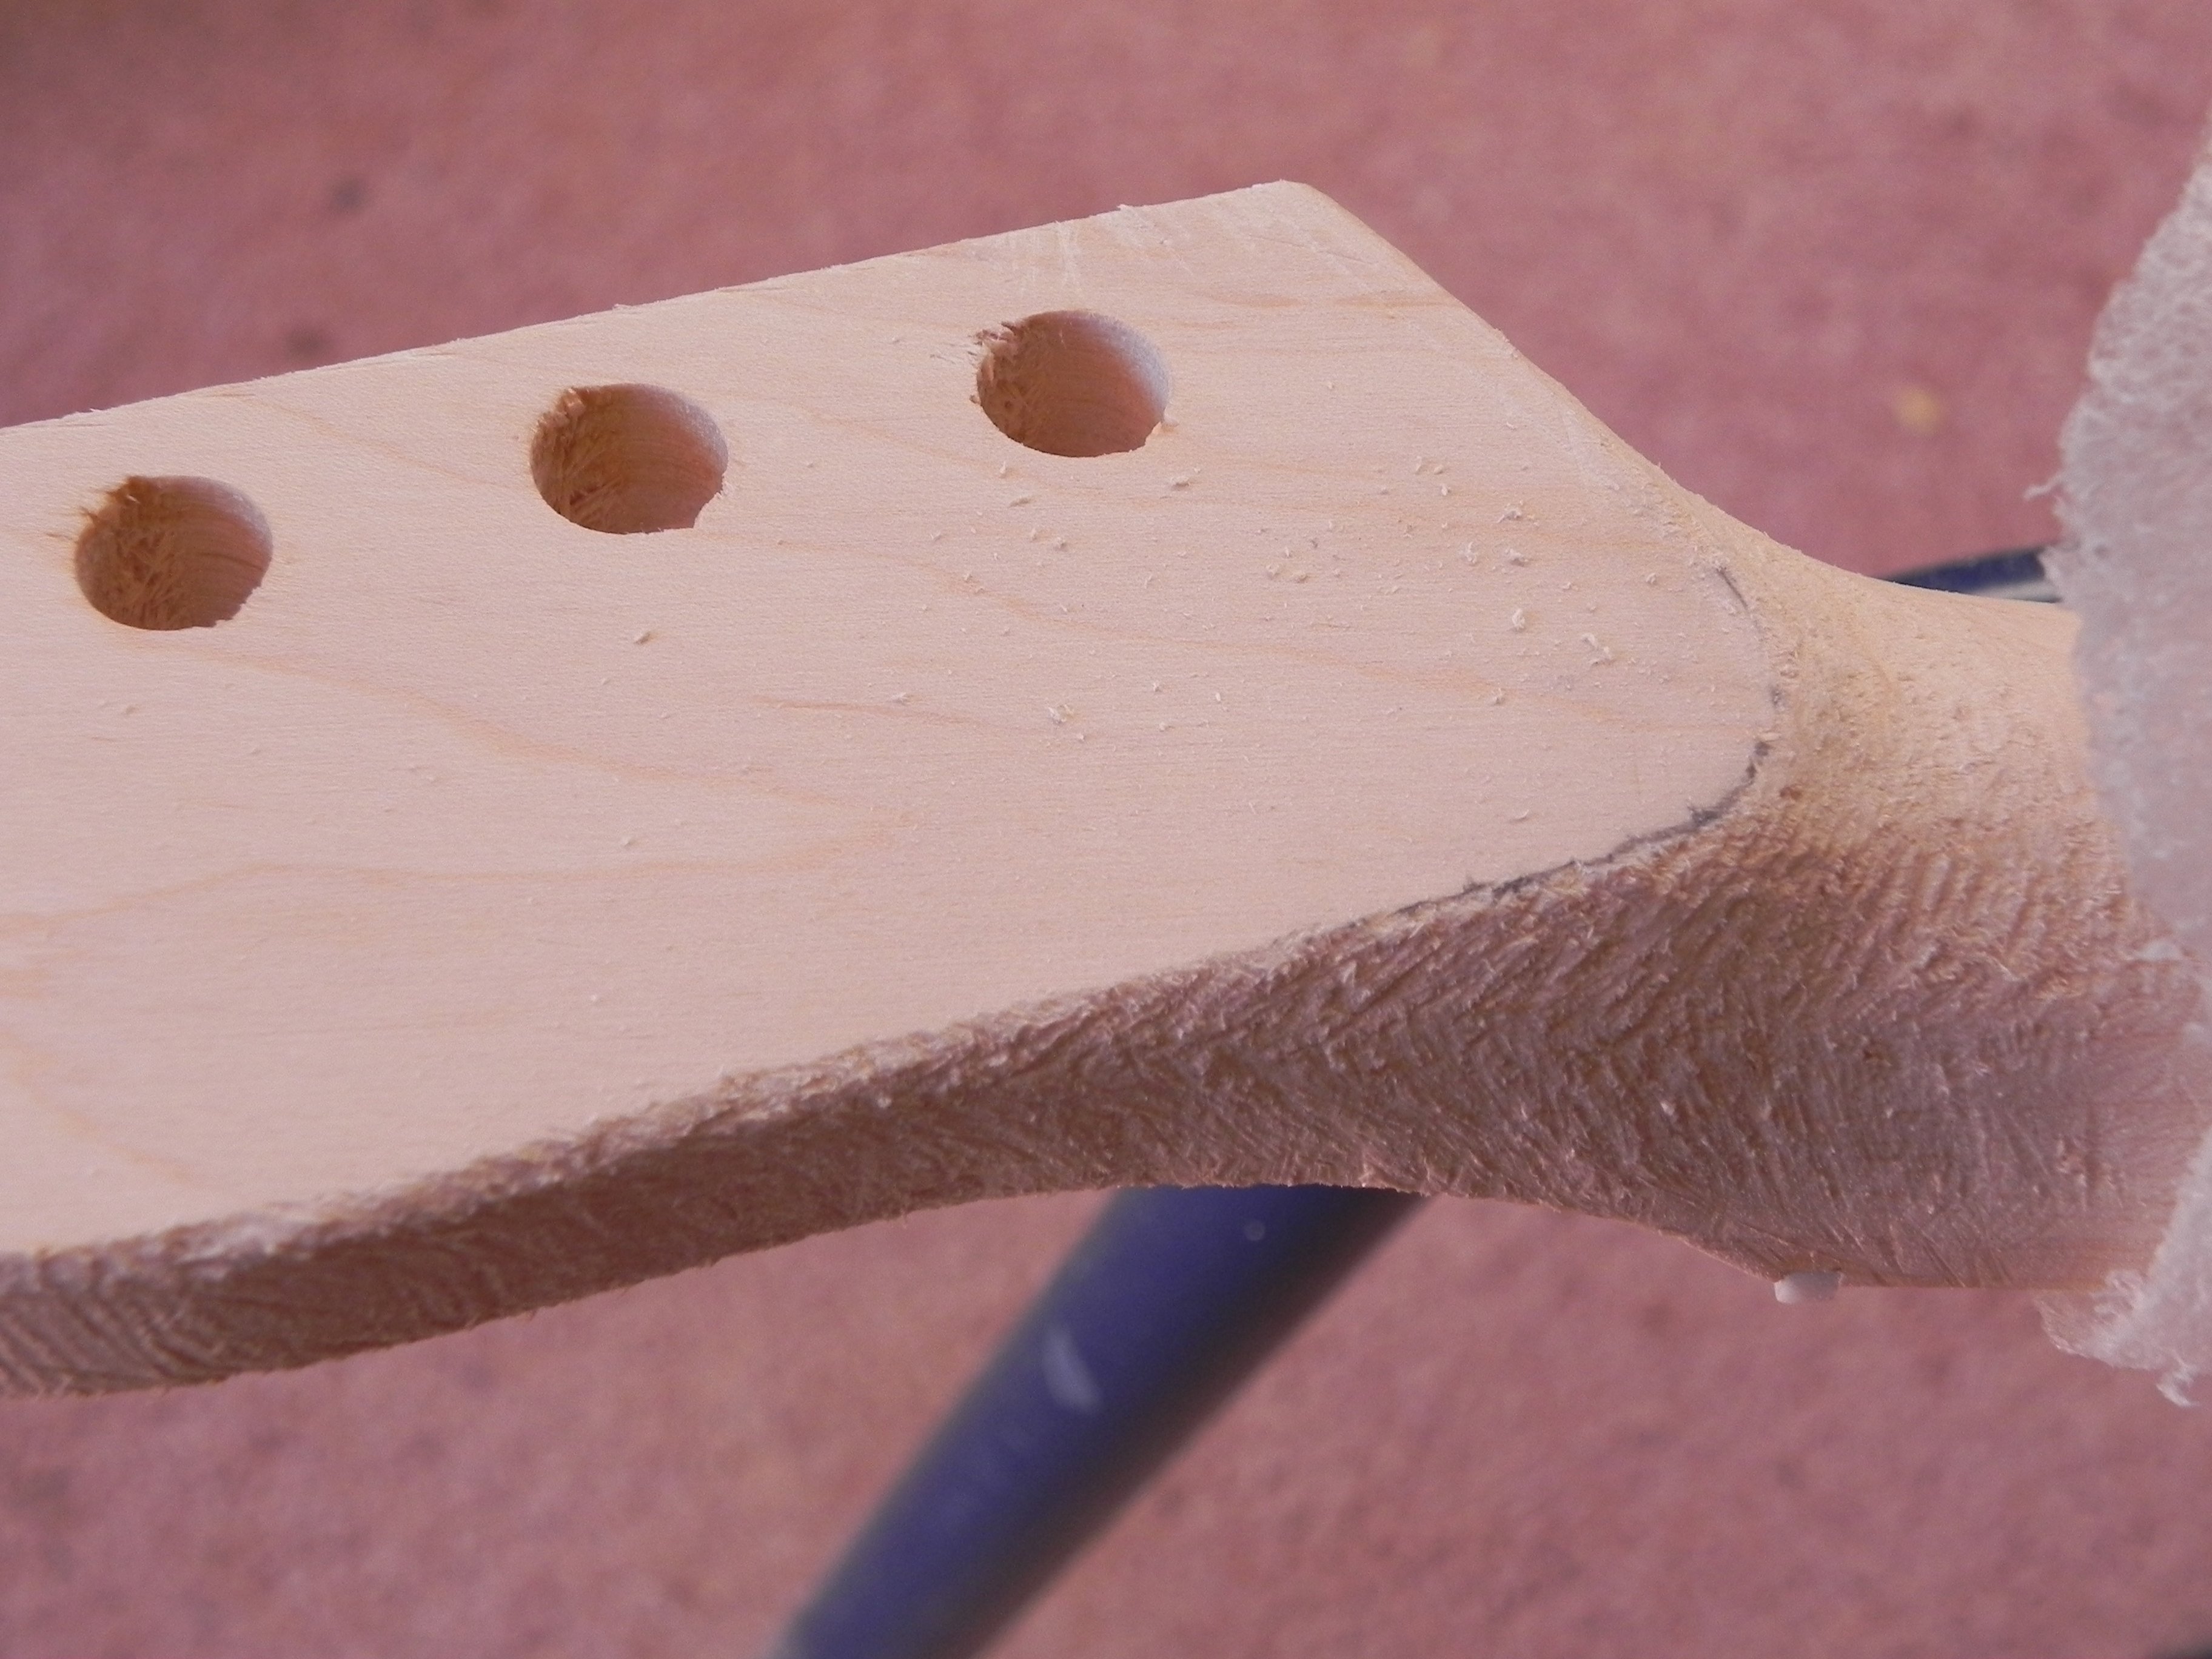
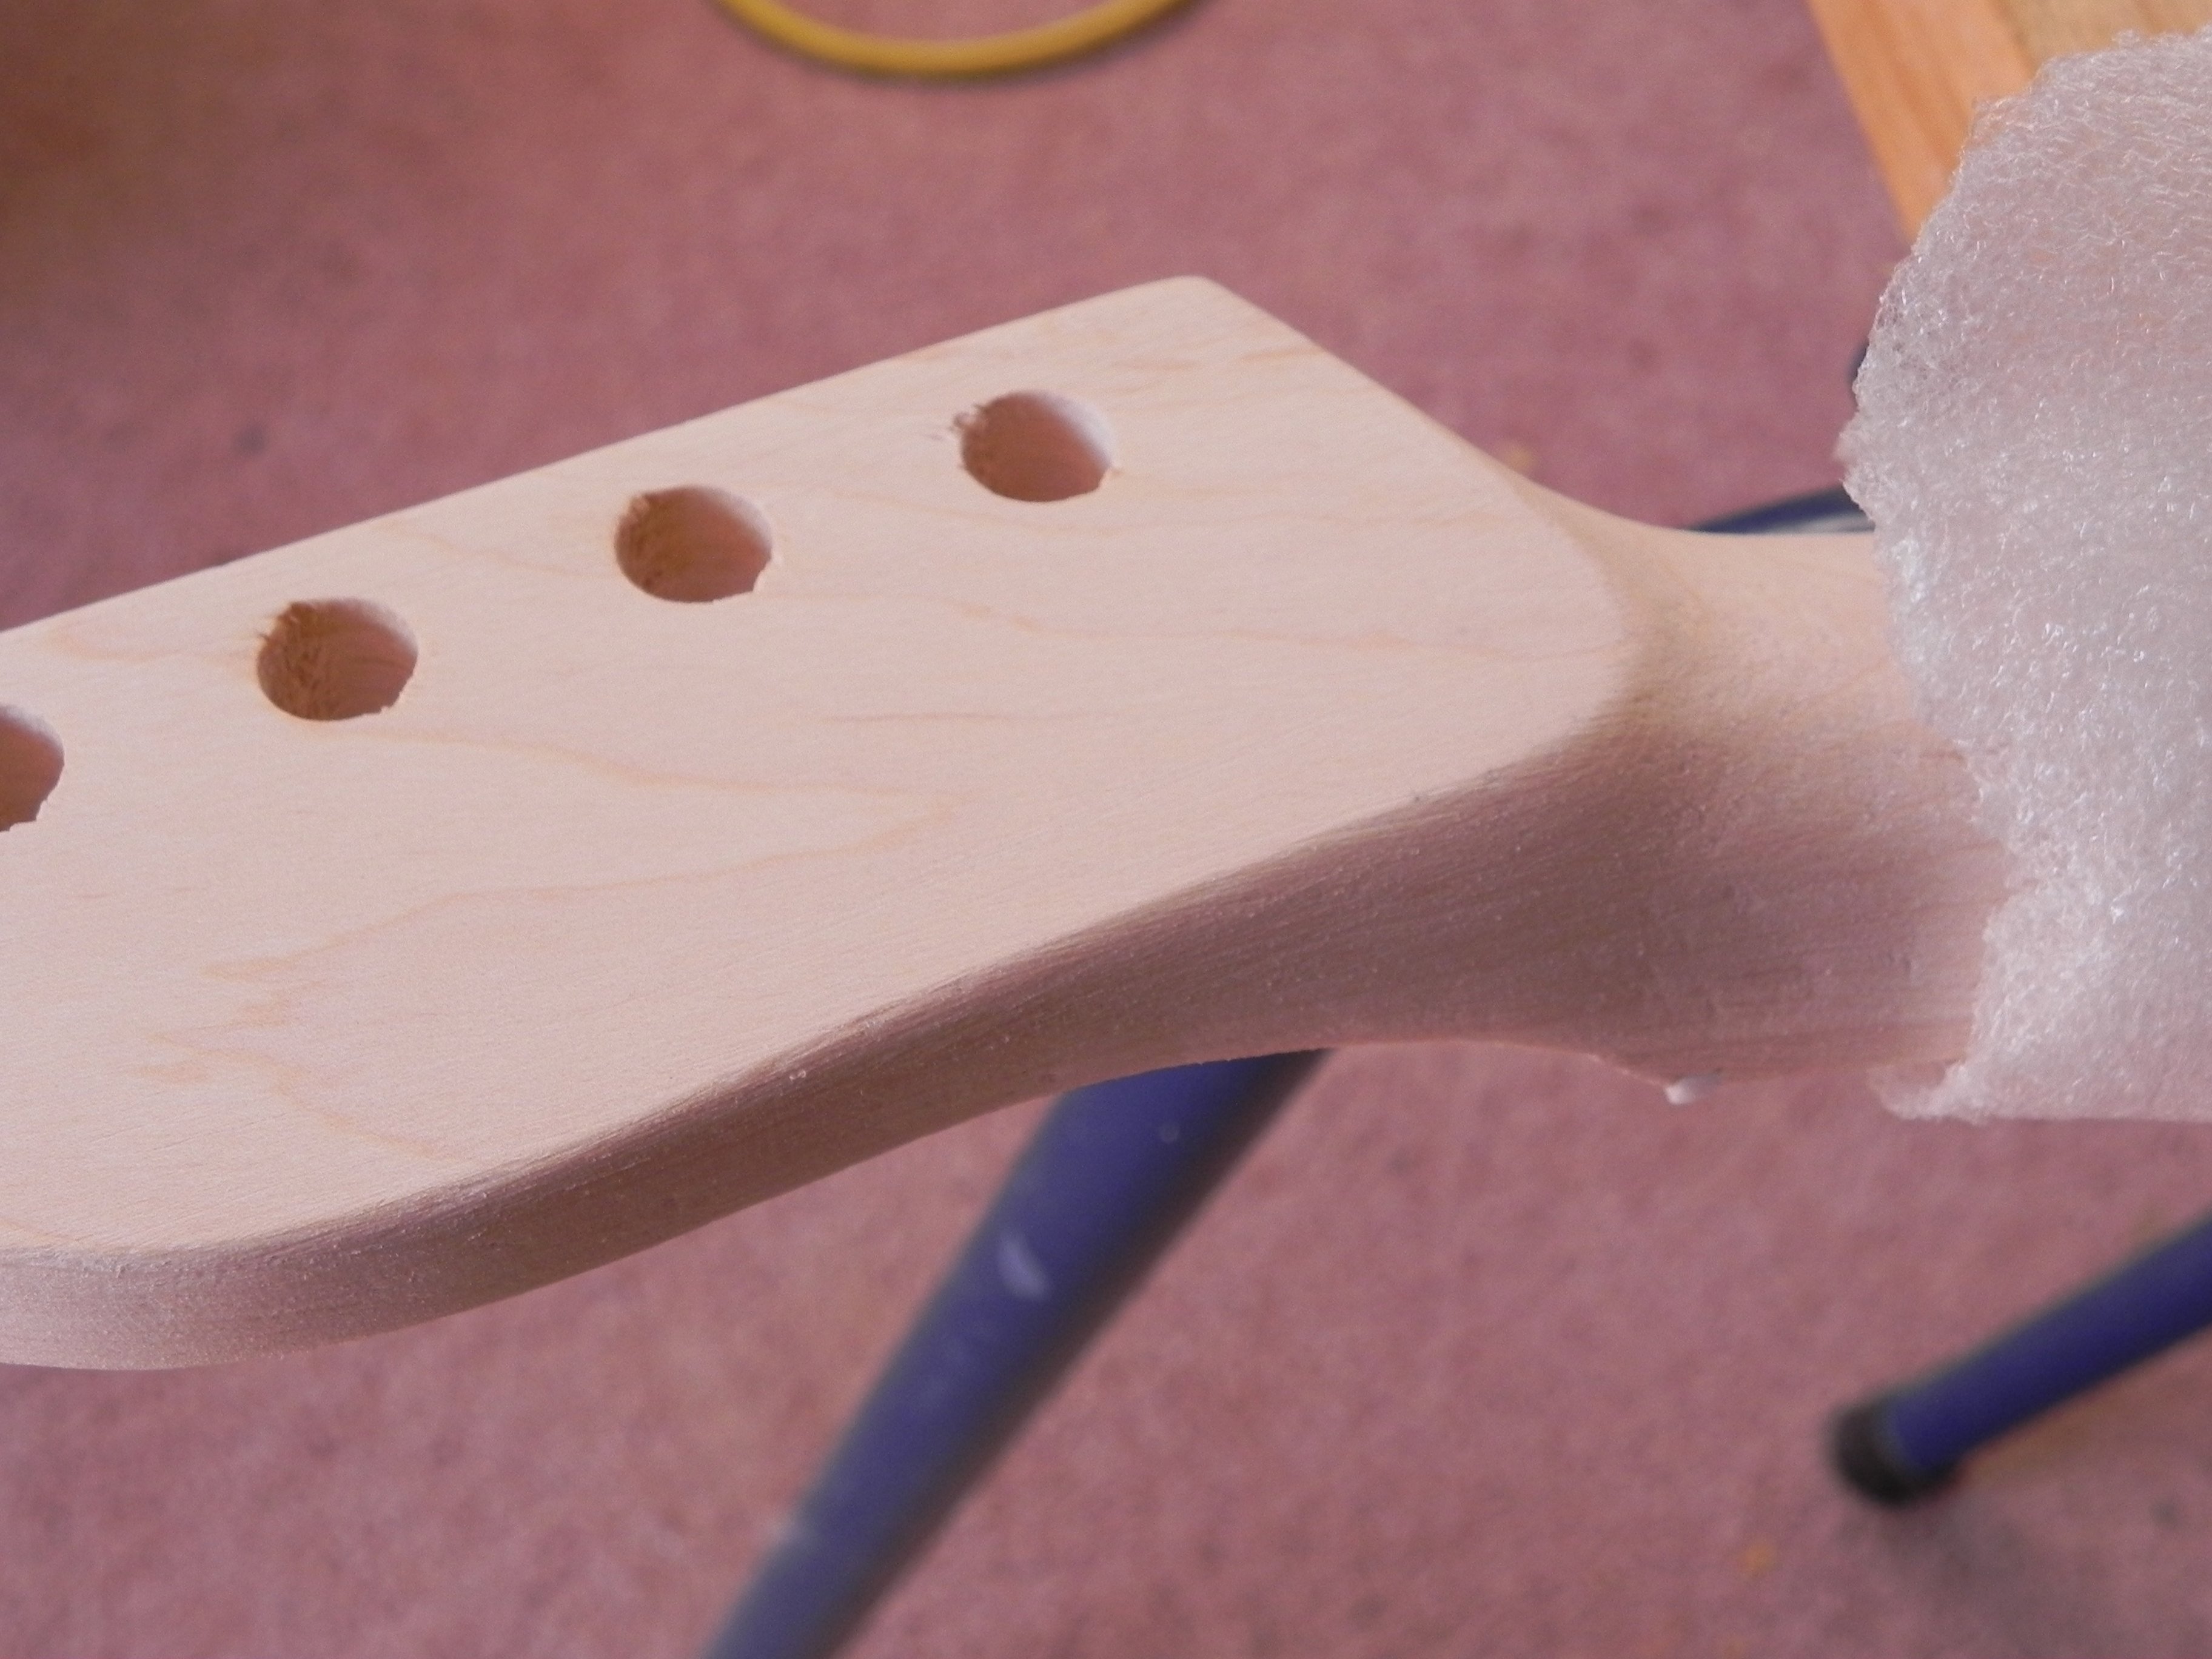
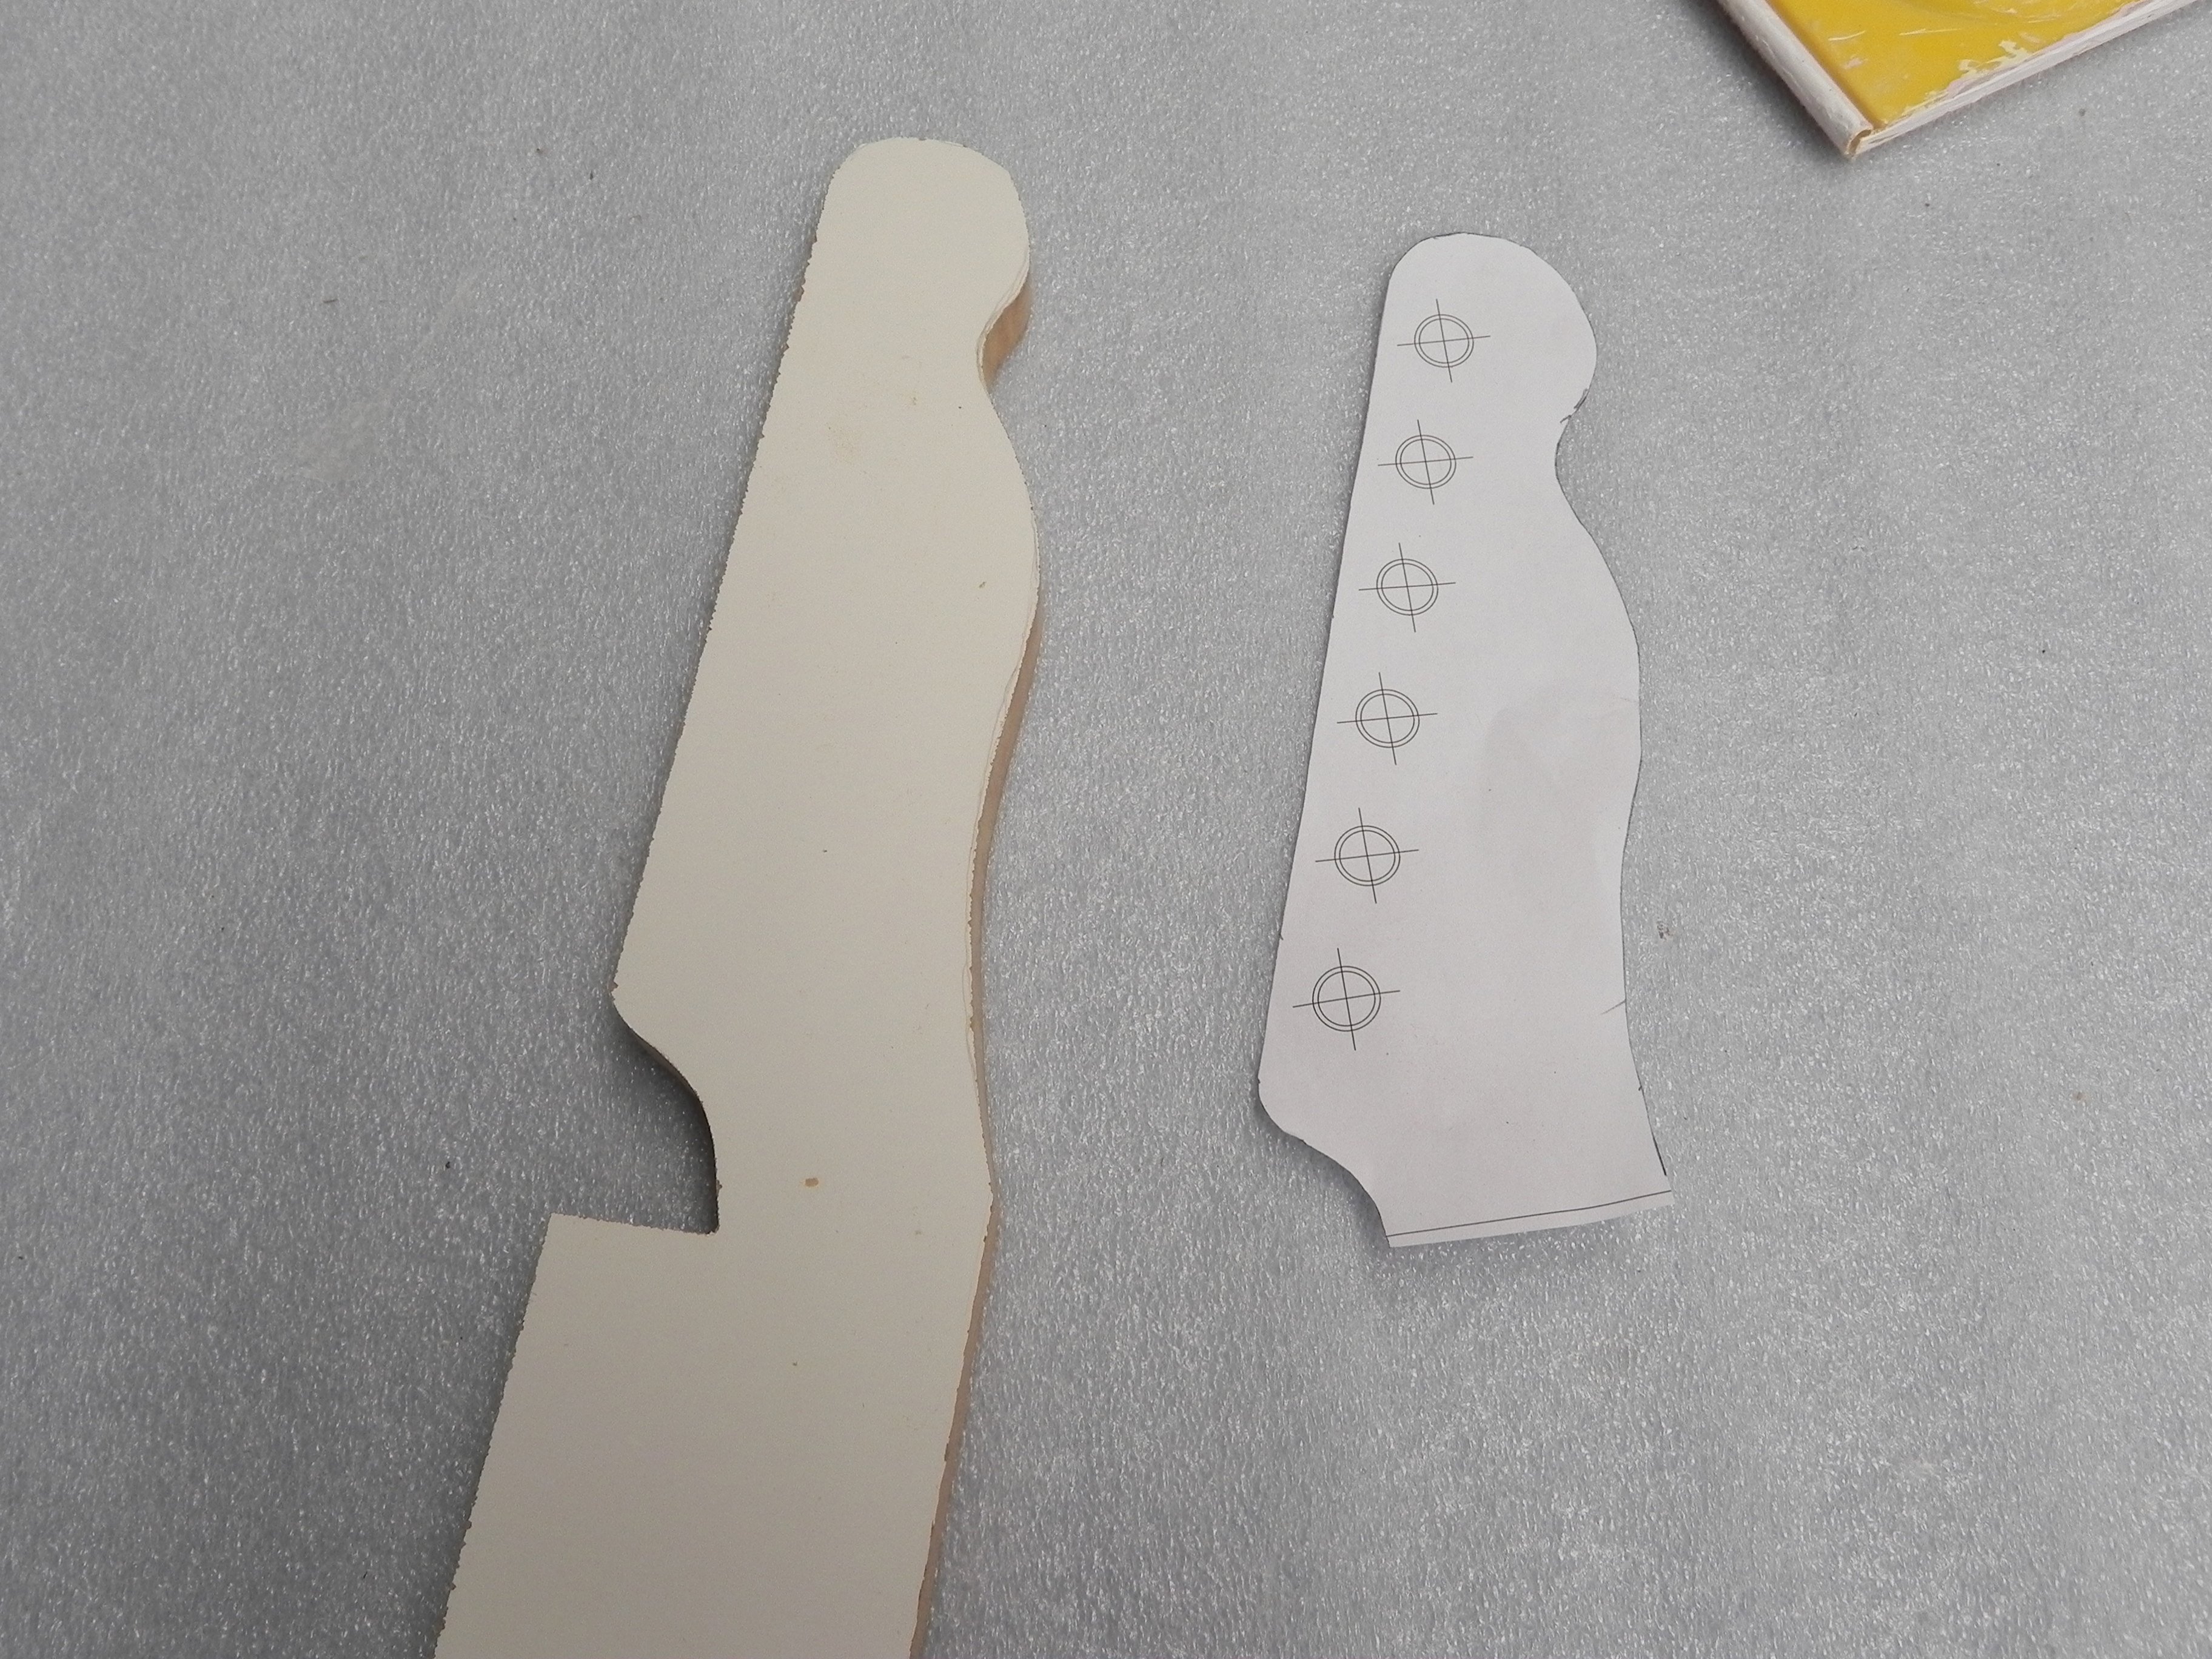
Having never shaped a headstock before (and with some advice from this forum) I did a practice cut on some laminated wood stuff I had sitting around. This was informative, in that it taught me the benefit of sawing a number of straightish lines to make a curve, instead of trying to force a jigsaw around too tight a turn.


 Reply With Quote
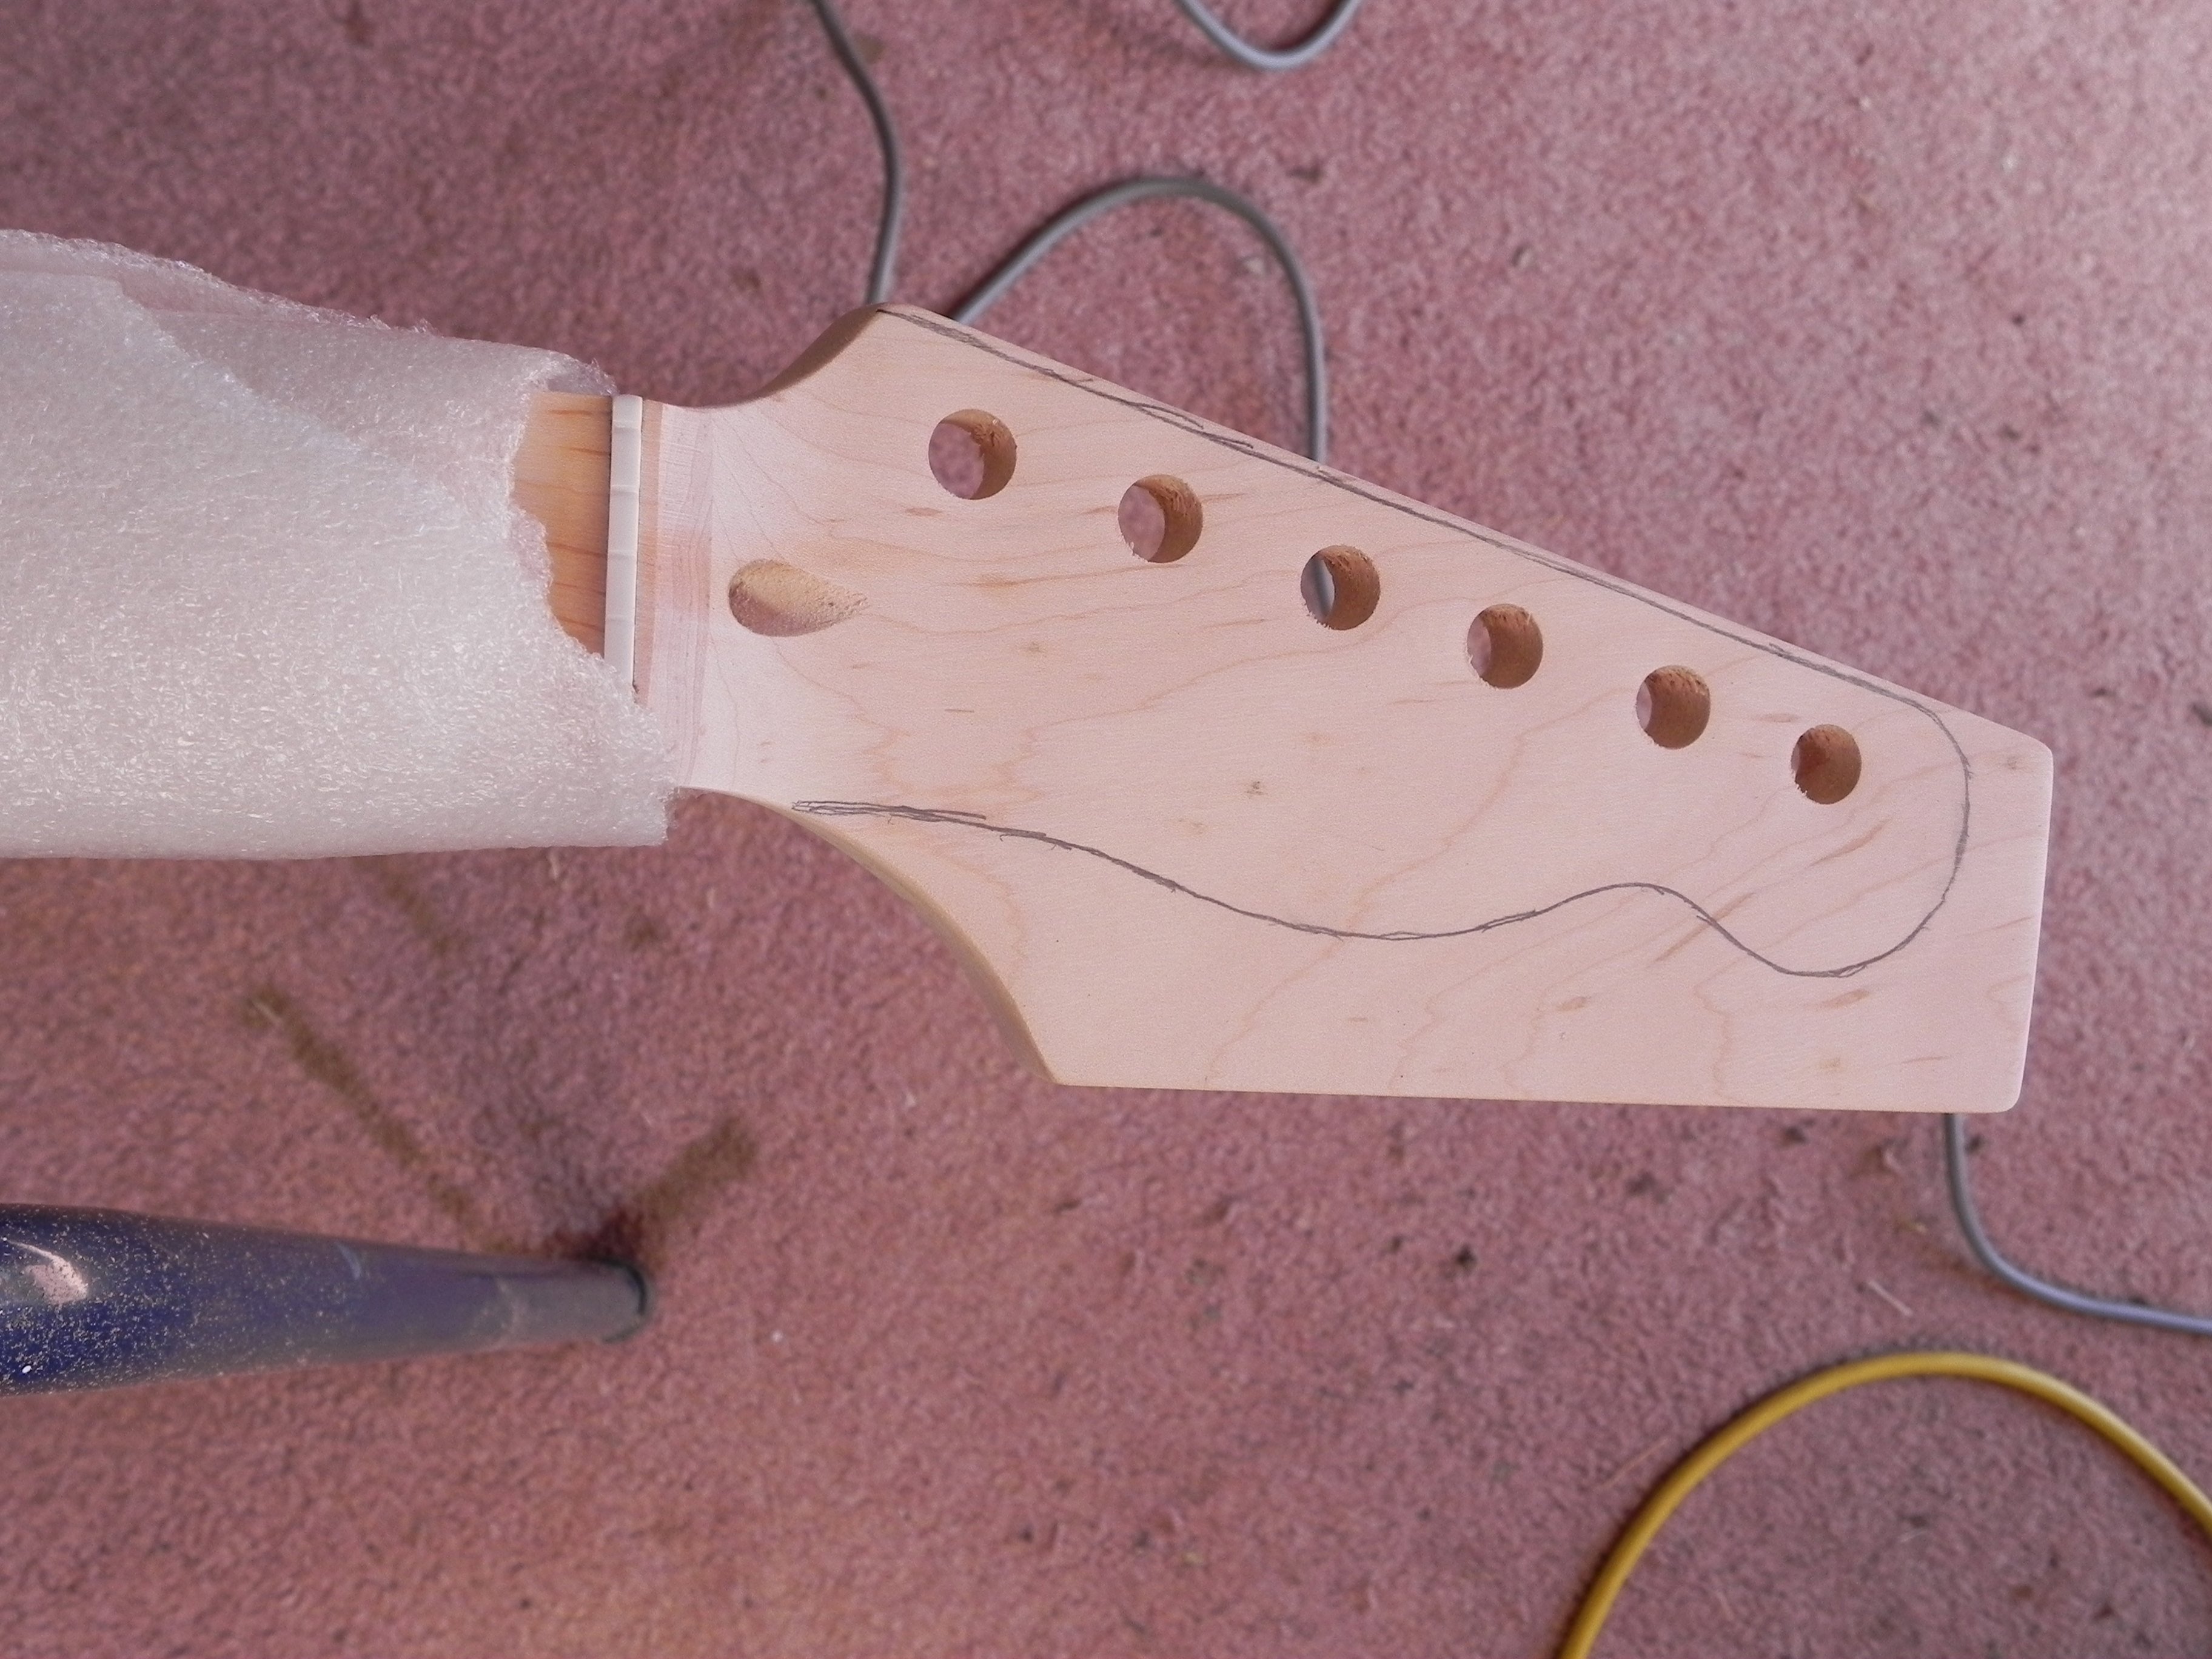


 Gavmeister